
In this guide, we will show you how to easily create a powerful contact form using the WP Fluent Forms plugin.
There are excellent reasons to use WP Fluent Forms: besides satisfying most of the requirements in its free version, it is flexible, easy, and powerful. In this article, we will see its strongest points, plus we are going to teach you how to create a form in WordPress step by step.
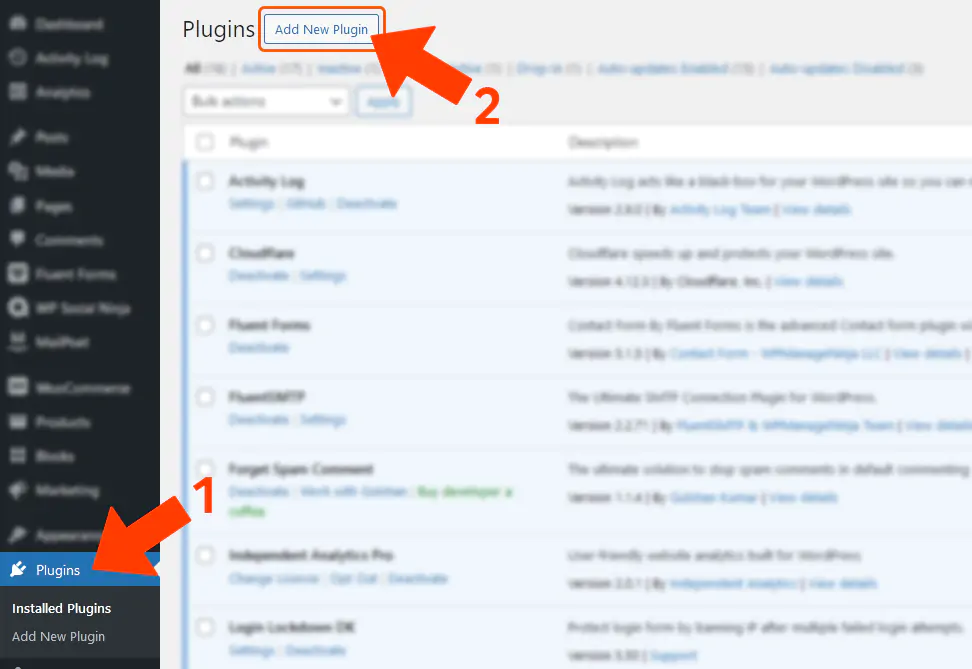
Installing a new plugin in your WordPress website
First step: please click on Plugins and then on Add new as shown in the screenshot below:
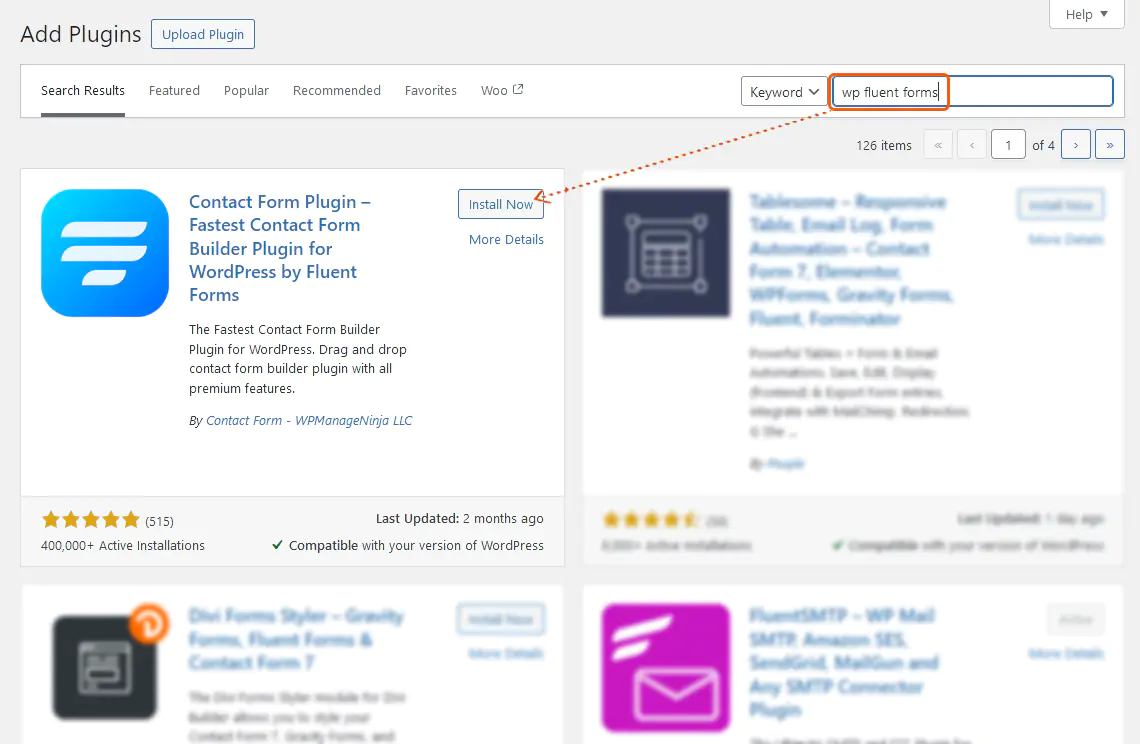
On the next screen, enter ‘wp fluent forms’ in the Search Plugins field and wait for WordPress to return the correct component. Afterwards, click on the Install Now button.
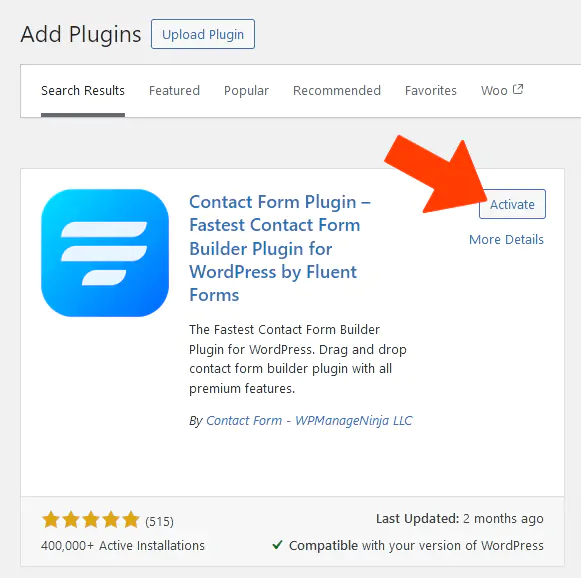
Once installed, click on the same button again (it will change from ‘Install now’ to ‘Activate’).
Note: It is not necessary to install the Fluent Form plugin if you have contracted our Managed WordPress service (which includes the full PRO version).
Our first form
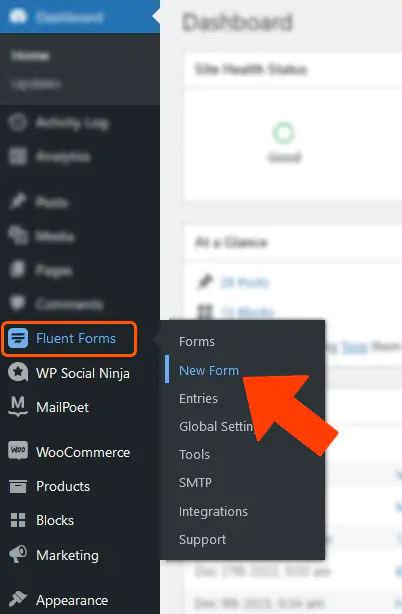
Once the plugin is activated, we can start creating our new form.
To accomplish this, click on the ‘New Form’ option in the corresponding section of your WordPress tools menu.
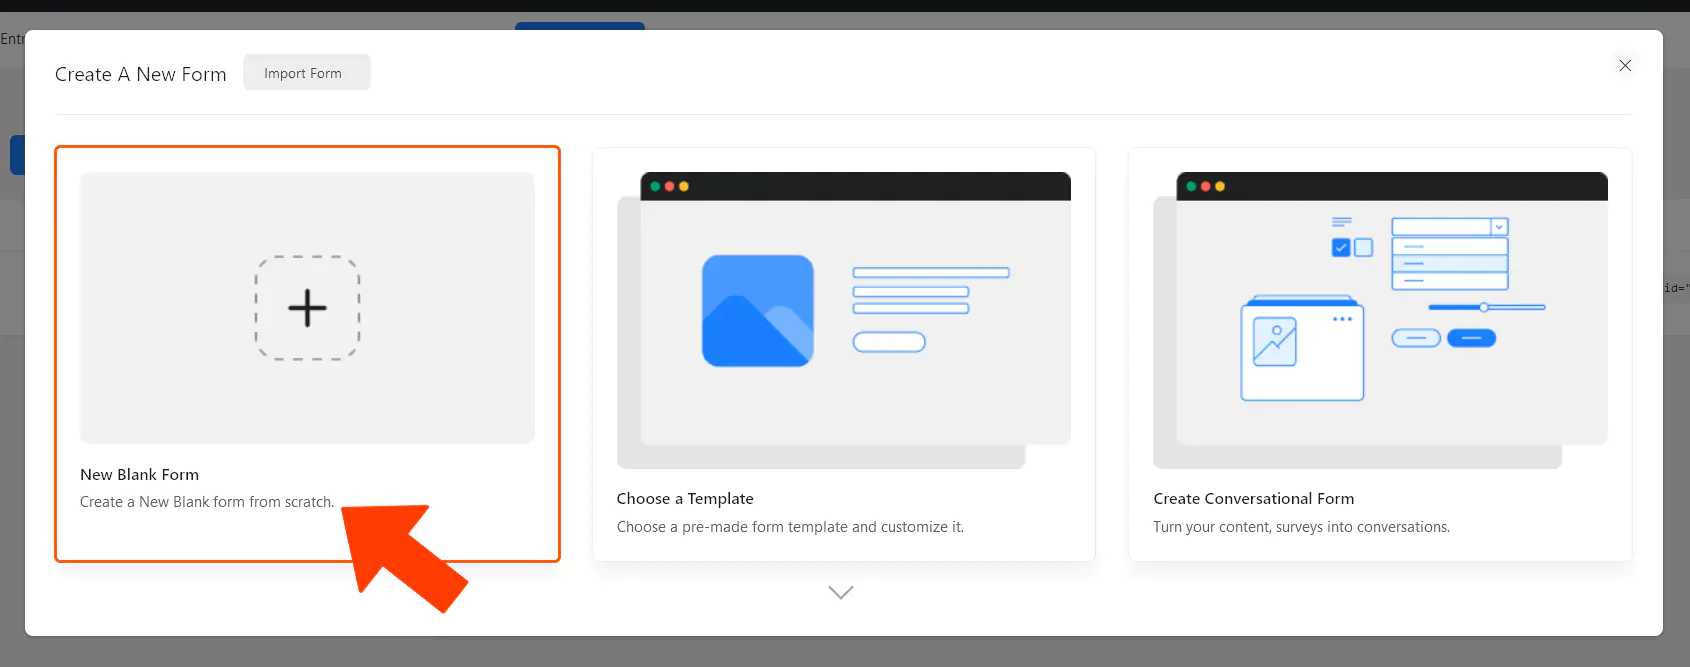
The first pop-up window we will see allows us to choose a template from a library. While this is useful and time-saving, the point of this guide is to learn how to make a form on our own. Creating a new one from scratch is the way to get familiar with the practice so that we can create as many forms as we need and in exactly the way we need them.
Therefore, we will click on ‘New Blank Form’.
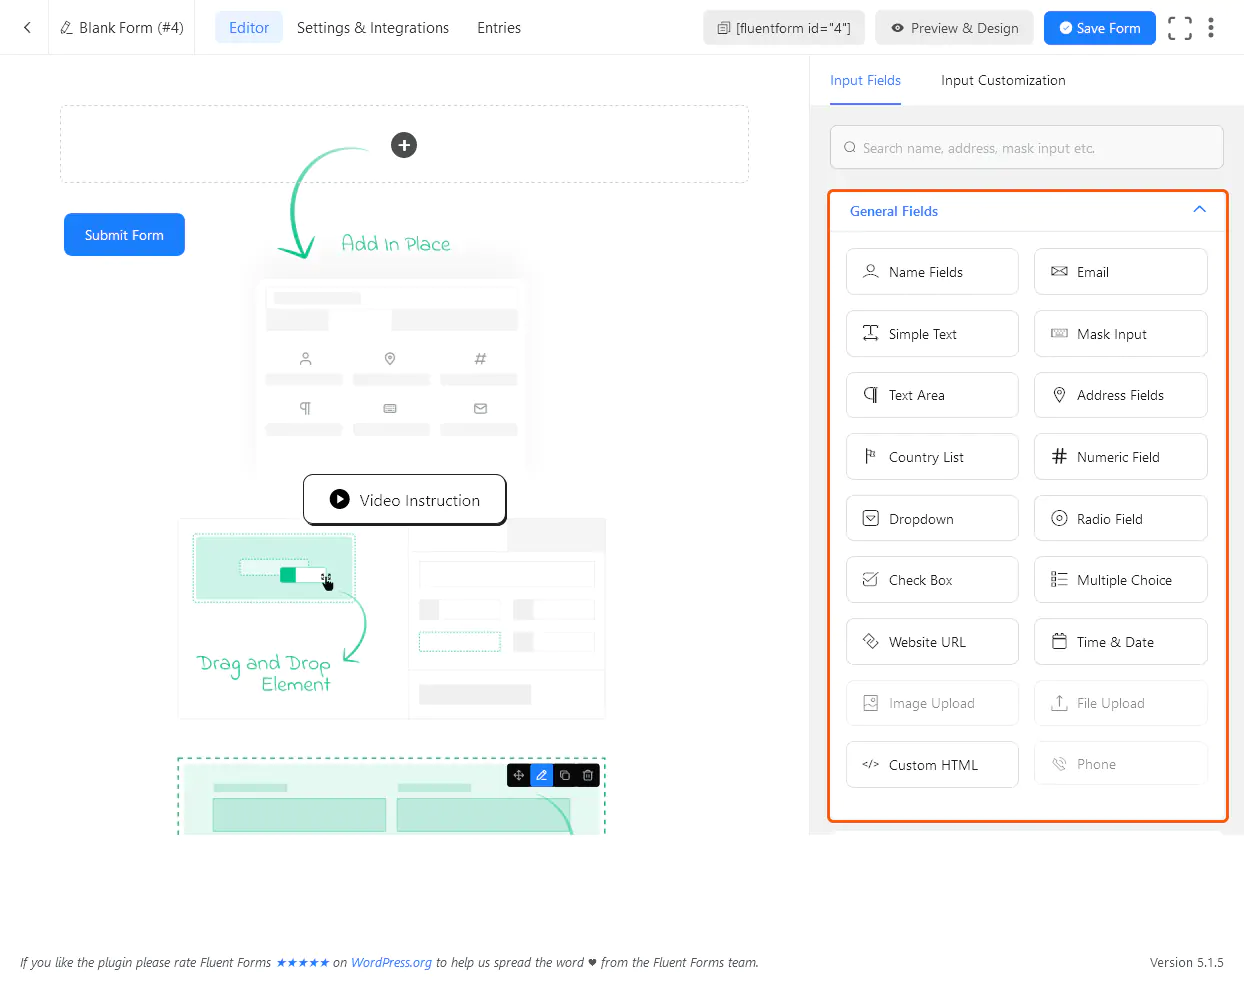
After this step, we will meet the form editor.
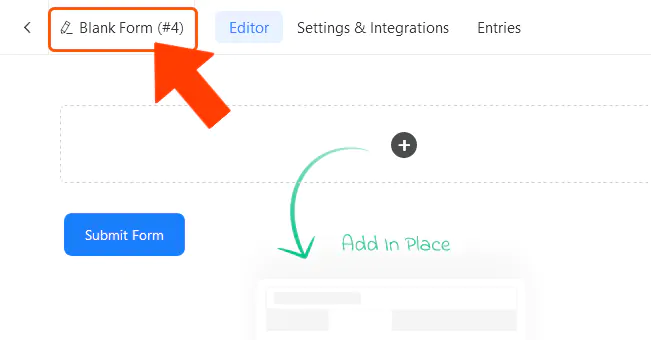
The first thing to do is give a name to our form in order to identify it from others that we may eventually create. It is also the name by which we will invoke it on our site.
Let’s click on the link here marked with orange:
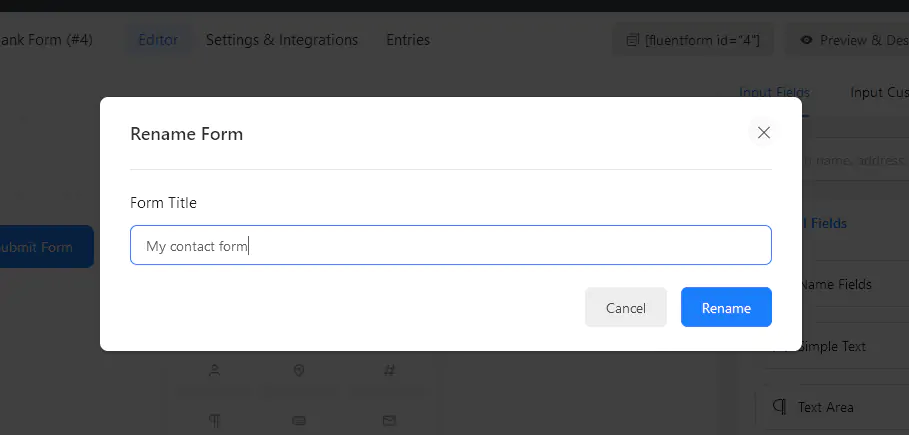
After clicking on the indicated area, a pop-up window will allow us to set the name we want. Don’t forget to click on the blue “Rename” button to save the changes.
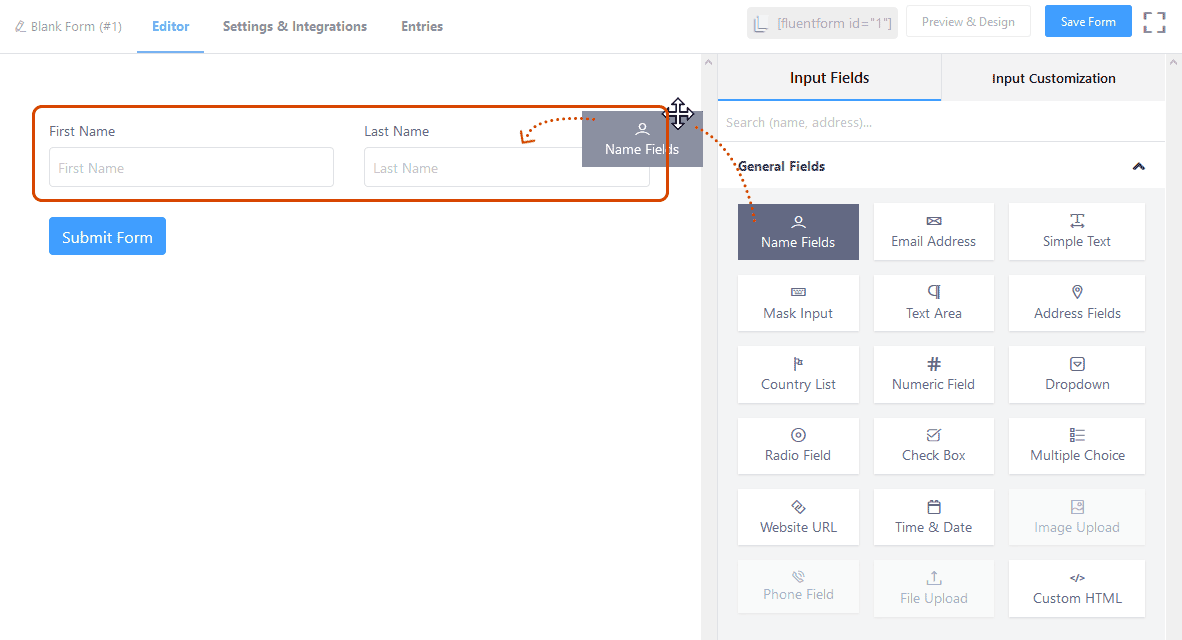
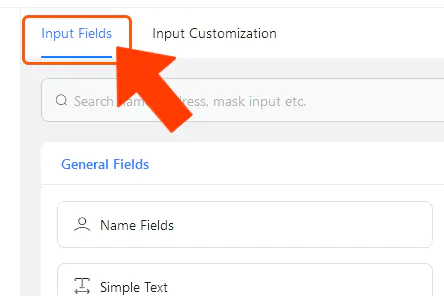
The green indications with their arrows are visual instructions that the plugin gives us: it is telling us that the way to create a form is by dragging and dropping elements (for those who are familiar with Elementor, Gutenberg, or similar: this works the same way). What elements will we use? Well, those that we mark with an orange rectangle in the screencap below.
The elements marked in orange make up what in Fluent Forms are considered general elements (the most used ones, typical of a form). For example, a field to enter Name, Email, or a simple text (like a comment that our visitors want to send us or a specification). We can also see that there are other more advanced options, but let’s start from the beginning: let’s drag and drop our first element, Name Fields (field for First Name and Last Name).
Like this:
After releasing the element, we will see that our fields for First Name and Last Name have been added to the template (until recently empty) of our new form.
In addition to that, a window is enabled to better configure our form. For example, it is possible to change the identification of this section, which is currently called ‘Name’, to ‘First Name’ by retyping in the field below.
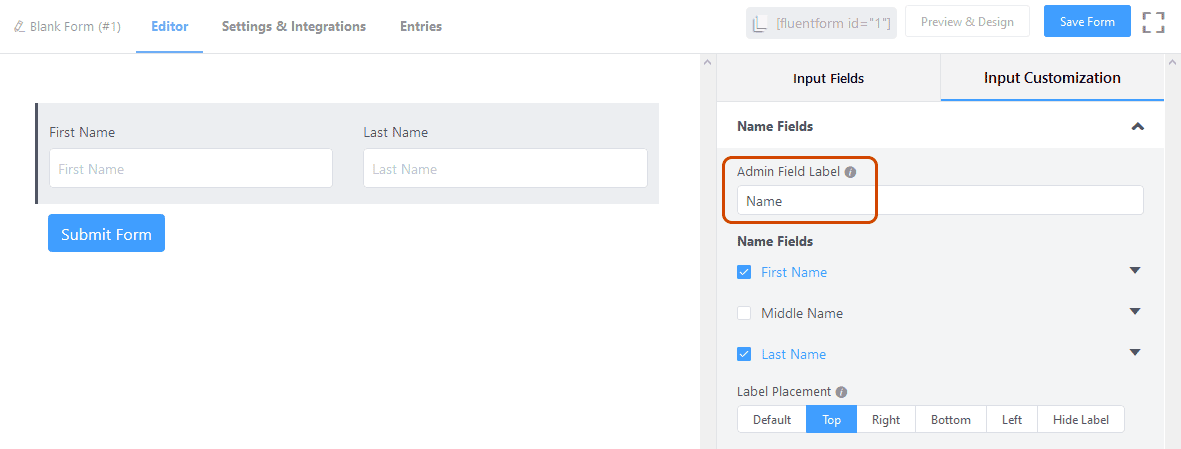
It may prove important to customize the fields that our visitors will eventually fill in. Let’s deploy the corresponding options as shown in orange in the screenshot below.
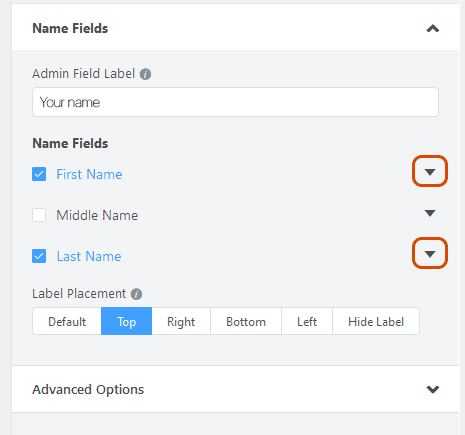
Once these options are displayed, we will be able to modify the description of the fields that our visitors will see when they enter the form to contact us. In the following screenshot, we mark the fields and their corresponding influences in our form.
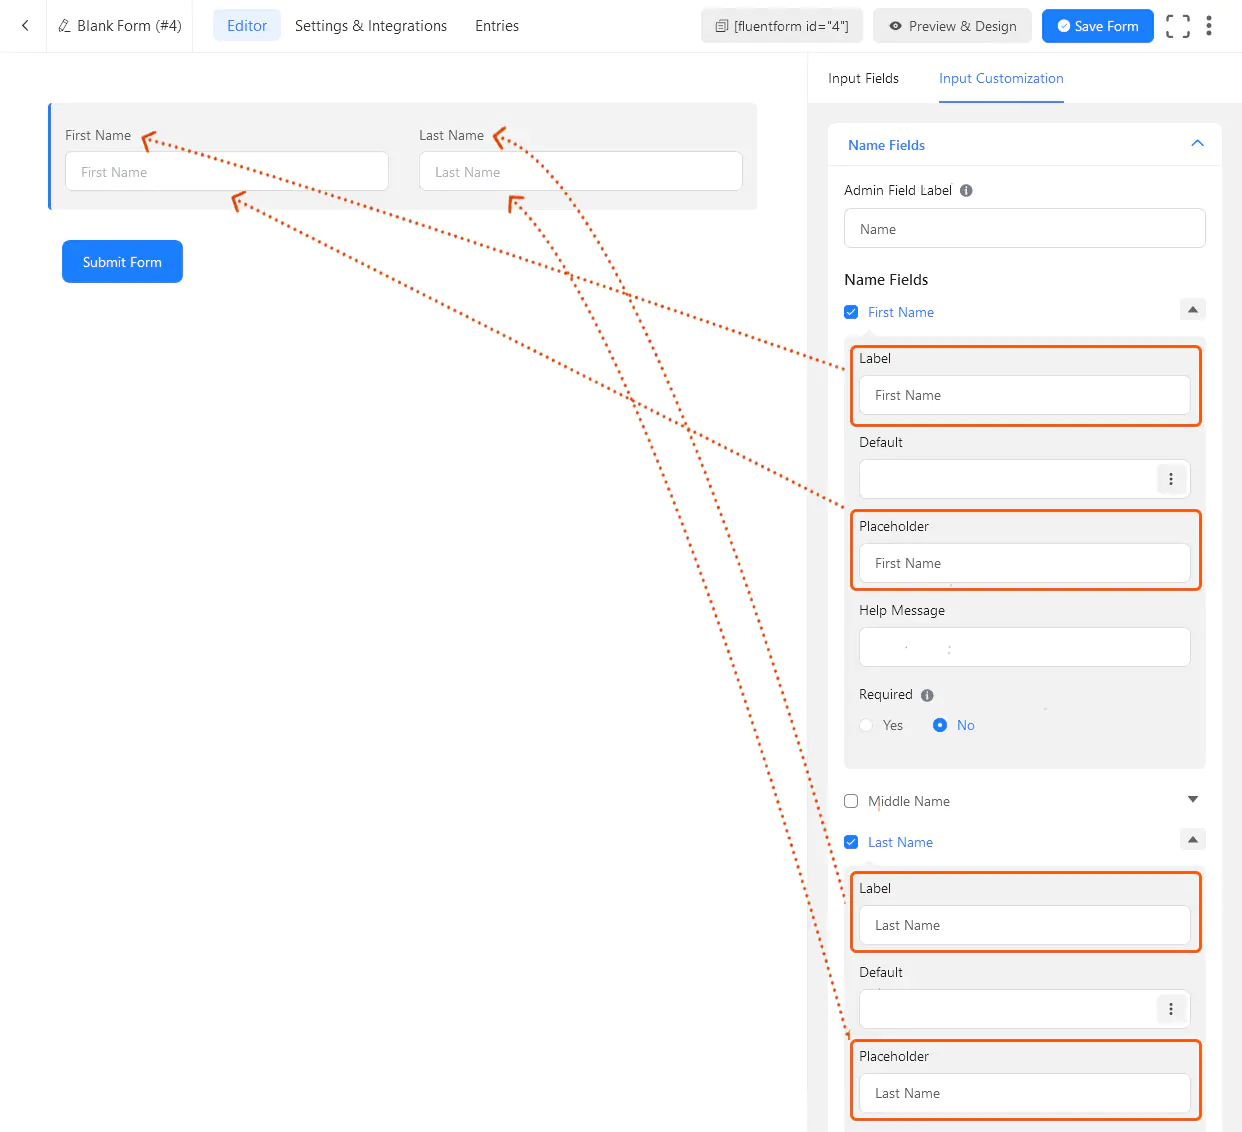
We consider the First Name and Last Name fields to be required. Whenever we check an option as ‘Required’, we will prevent the form submission when our eventual user does not complete that field.
We can decide which fields are required or not by simply checking yes or no next to the ‘Required’ option.
In the ‘Error Message’ field, we can write a custom message, the same message that the person who intends to submit the form without having completed that field will receive. In the example, it is enough to inform him/her that this information is required (‘required field’).

After this step, let’s go back to the tools available to continue adding fields by clicking on the link below:
Do you wish to add a field for your visitors to enter their email address? Of course, that’s a necessity. We’ll do it by dragging and dropping again.
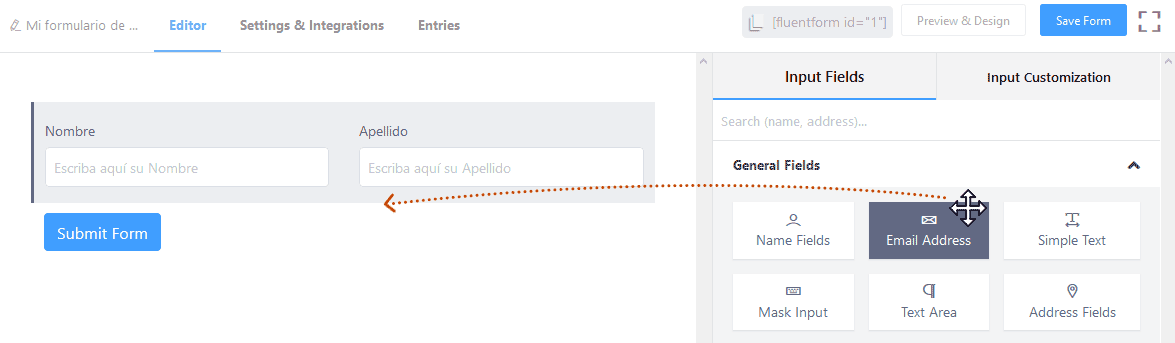
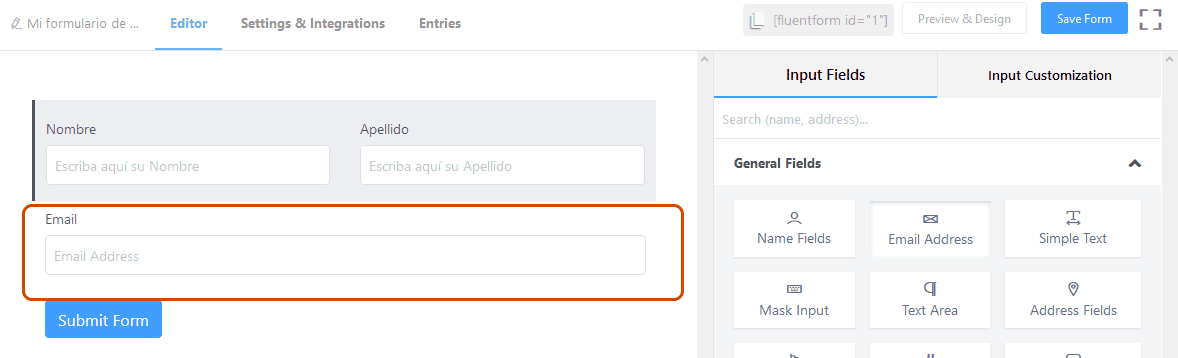
By dropping the ‘Email Address’ element below the First Name and Last Name fields, the result will be as follows:
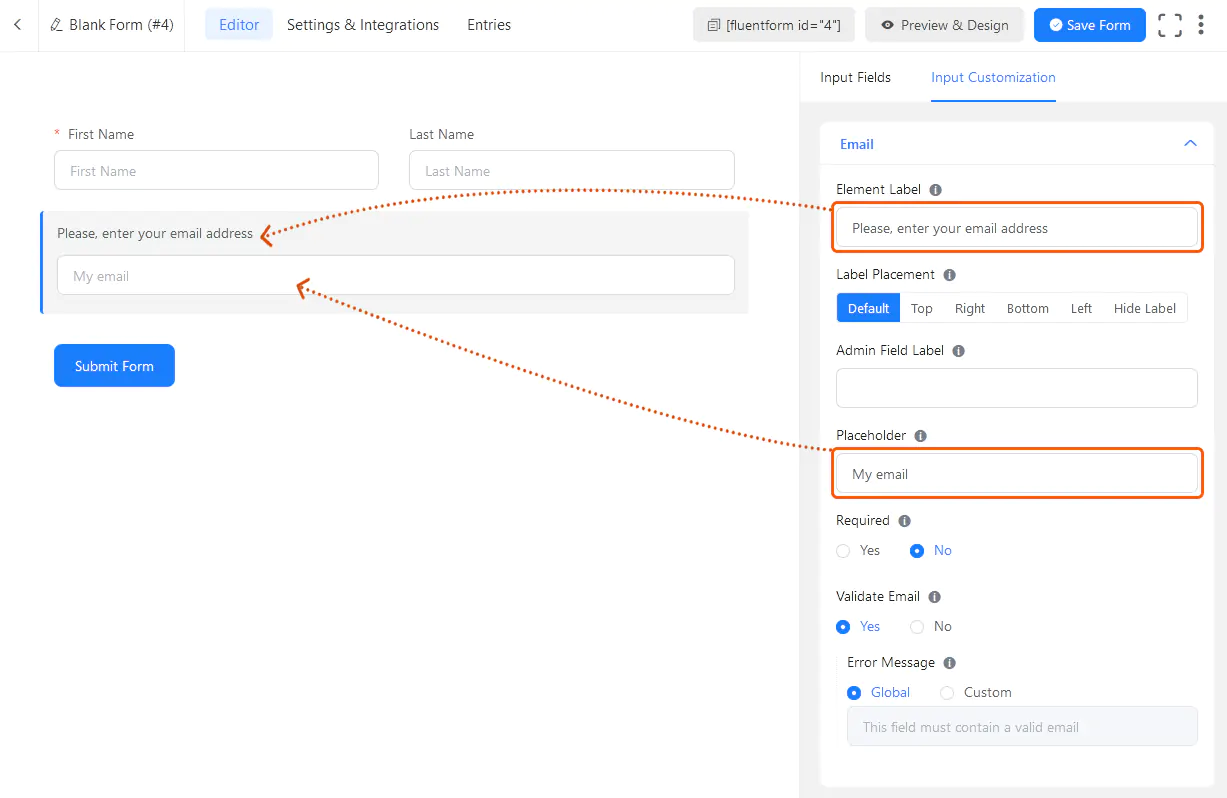
Let’s customize this field by clicking here:
We will then type as we see fit:
By repeating these operations, we will be adding additional fields and customizing them as we wish.
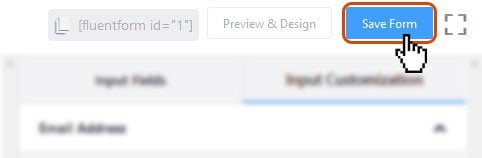
When we are satisfied with our form, having all the fields we need our users to fill in, we click on the ‘Save form‘ button.
Important note: It can be tempting to fill out a very long form in order to collect as much data as possible about our users and customers. However, there is an indirect relationship between the number of users who complete a form and the length of the form. That is to say, the more data we request from our visitors, the greater the probability that they will not complete the information. This is called ‘bounce’, and it is, of course, undesirable. Therefore, we recommend that you really think about what the real essential data is needed for a customer database, for a registration, or for a mere comment on our site. Less can always be more.
Let’s continue:
All forms created will be assigned an identification code, which is called a’shortcode’. The shortcode (or’shortcode’) is the way WordPress allows us to ‘invoke’ some element anywhere on our site (in this case, the element is the created form).
Let’s locate the shortcode of our form:
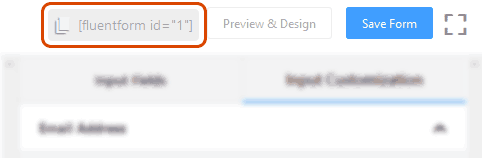
Clicking on the indicated area in the above screenshot will automatically copy the shortcode –i.e.,
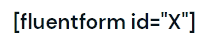
X being the correct form number– to the clipboard of our operating system.
Thanks to this shortcode, we will be able to ‘paste’ our form wherever we need it (either inside an HTML element in Gutenberg, Elementor, in a Post or in the HTML code itself).
If you have any questions, please do not hesitate to write them in the comments. We are here to help you.
Remember that the Fluent Form plugin in its PRO version is included in our Managed WordPress service.
We hope you enjoyed the guide and learned from it, so you can make your own forms from now on. Thanks for reading, and good luck!
Why not assess the quality of our hosting service?
We offer assisted and free migration services along with a 30-day satisfaction guarantee

Leave a Reply