

Activar Cloudflare
Actualizado hace 3 meses
Cloudflare es un servicio que actúa como intermediario entre nuestro sitio y sus visitas. Básicamente, clona nuestro sitio en muchos diferentes servidores a lo largo y ancho del planeta, de modo que un usuario ingrese a la copia físicamente más cercana a él (un español entrará a nuestro sitio hosteado en España, mientras que un mexicano lo hará en un datacenter ubicado en su país: ver ¿Cómo funciona Cloudflare?)
Paralelamente, el servicio ofrece mejoras en velocidad, seguridad y disponibilidad.
Activarlo es un proceso sencillo que podemos realizar en pocos minutos.
Paso 1: Crear una cuenta en CloudFlare
Debemos ingresar a https://dash.cloudflare.com/sign-up
Es necesario registrarnos con una cuenta de correo (o red social) y una contraseña.
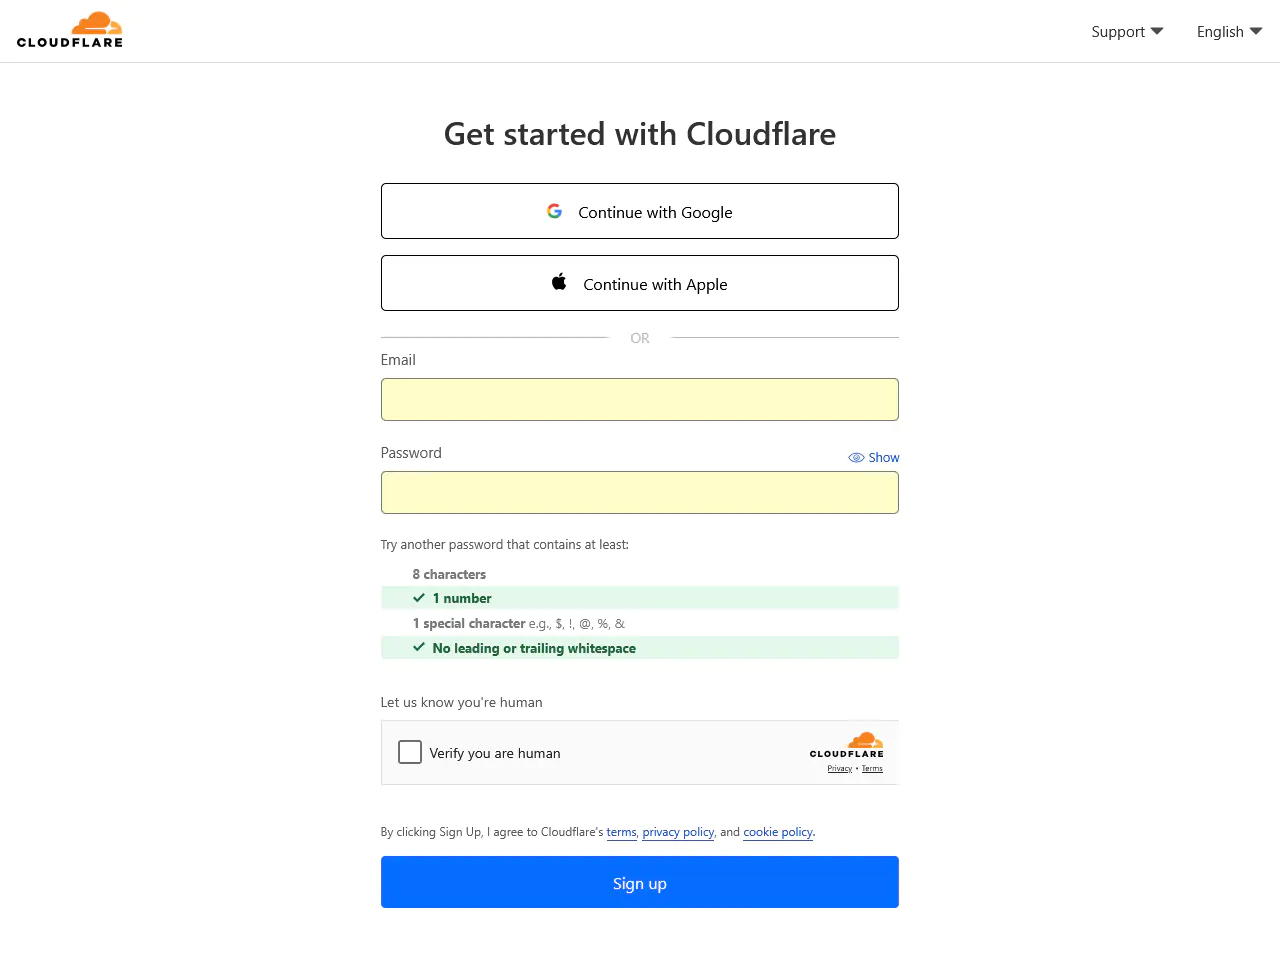
Si usamos un correo, deberemos confirmar nuestra dirección de correo a través del mail que nos enviará Cloudflare.
Paso 2: Agregar nuestro dominio en CloudFlare
Una vez dentro del panel de Cloudflare, haremos clic sobre le botón “Agregar”.
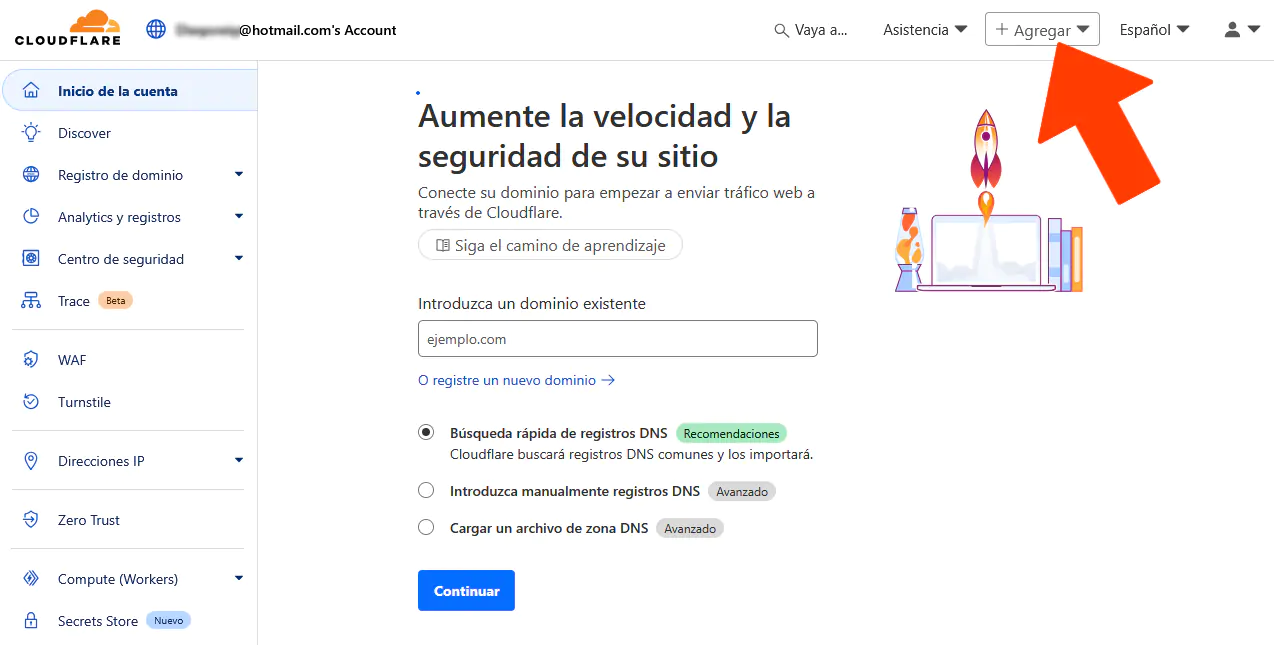
Ingresaremos nuestro dominio en el campo provisto (ejemplo.com) y luego haremos clic sobre el botón “Continuar”.
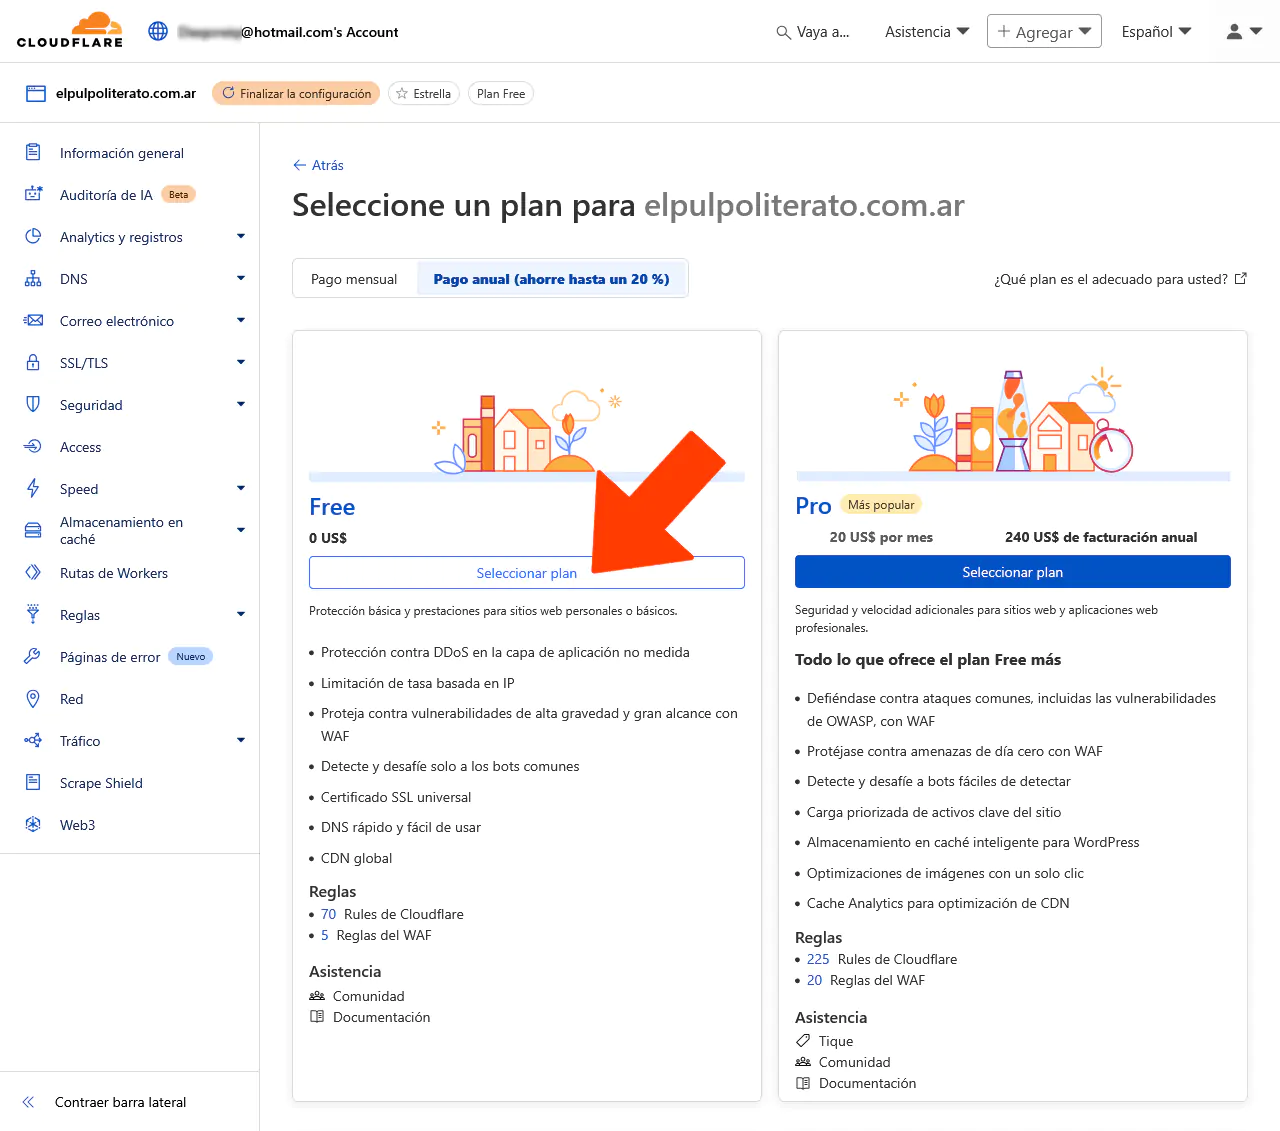
Elegiremos el plan gratuito (Free) si no necesitamos funciones avanzadas (la gran mayoría de los usuarios no necesita el plan pago). En todo caso, si eventualmente nuestro sitio lo requiere, podemos pasarnos al plan PRO sin inconvenientes.
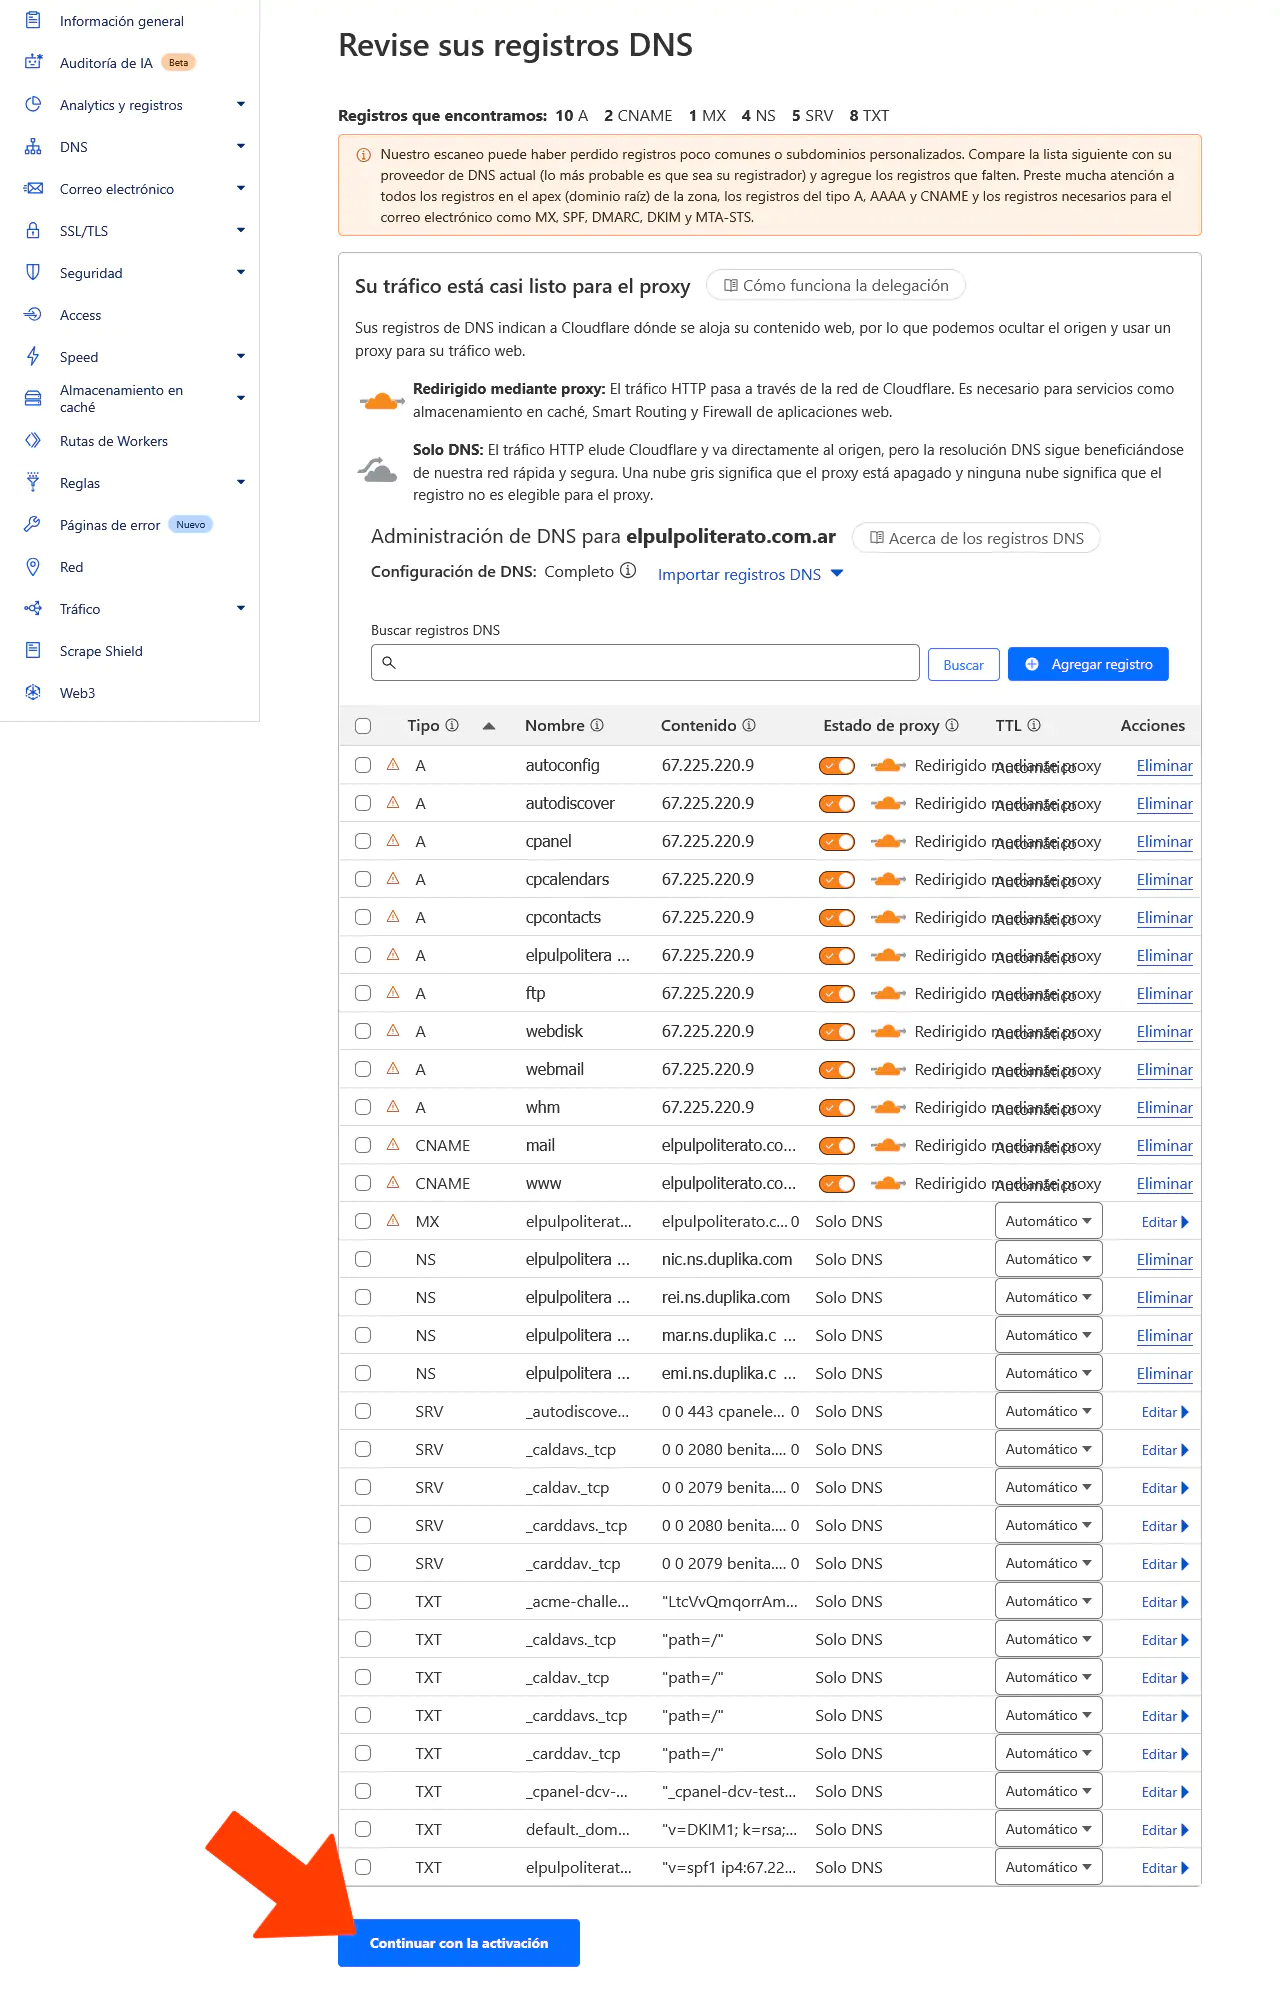
Tras este paso, Cloudflare escaneará automáticamente los registros DNS existentes. Por las dudas, podemos verificar que la información sea correcta comparando con los registros actuales de nuestro proveedor de hosting (aunque si hemos ingresado correctamente la URL de nuestro sitio, seguro que los datos sustraídos están perfectos).
Debemos buscar el botón azul final de "Continuar con la activación" y darle clic.
Paso 3: Actualizar los DNS en nuestro registrador
Cloudflare nos proveerá de dos nuevos nameservers o DNS (ej., ns1.cloudflare.com y ns2.cloudflare.com). Con éstos deberemos reconfigurar nuestro dominio vía su proveedor (es decir, la empresa que nos vendió el dominio, ya sea Nic.Ar, GoDaddy, Duplika, Hostway, Namecheap, etc.).
Para esto, deberemos ingresar a su panel de control y buscar la sección de administración de DNS o nameservers.
Allí reemplazaremos los DNS actuales por aquellos provistos por Cloudflare y guardaremos los cambios.
Nótese que la llamada "propagación de DNS" (es decir, la actualización de los DNS de un servidor a otro —en este caso hacia Cloudflare— puede llegar a tardar hasta 24 horas.