

Tutorial Email Marketing
Actualizado hace 7 meses
Con el motivo de ser lo más claros posibles, hemos separado los instructivos según su categoría. Por favor, selecciona un enlace para saltar a la porción de la guía que te interesa.
Comenzando: ¿Cómo arrancar mi campaña por correos?
Lo primero que debemos hacer para comenzar es ingresar a la cuenta con los datos proporcionados por Duplika. Para ello, iremos al enlace https://www.emailpanel.net/
Tras ingresar, podremos crear nuestra primera campaña.
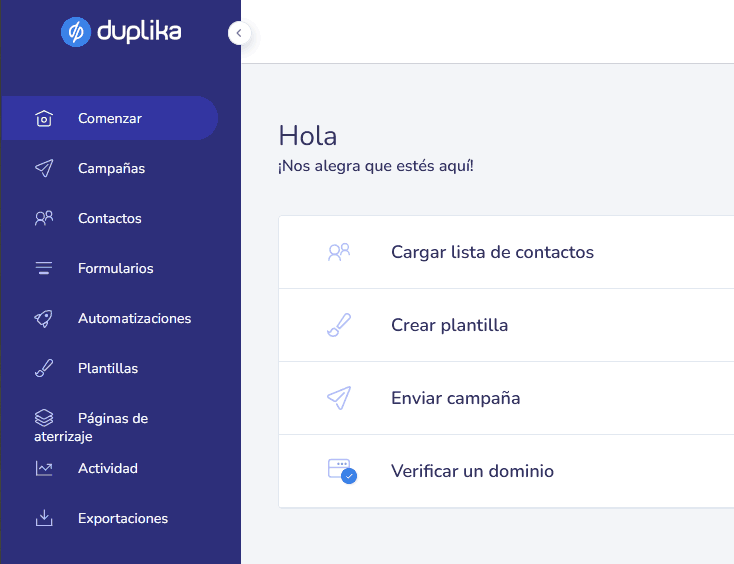
Comenzando: ¿Cómo verificar nuestro dominio?
Podemos blanquear nuestros correos usando nuestro dominio real para garantizar que los mismos no reboten.
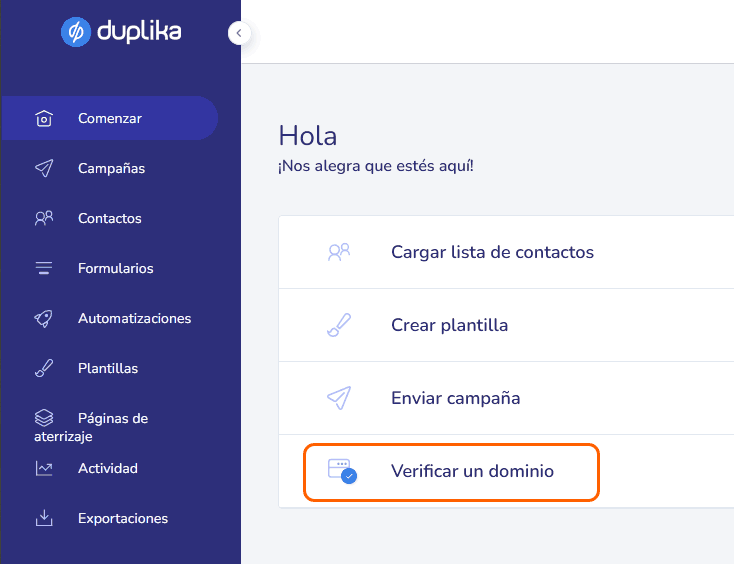
Tras hacer clic en el botón destacado, visualizaremos la información pertinente.
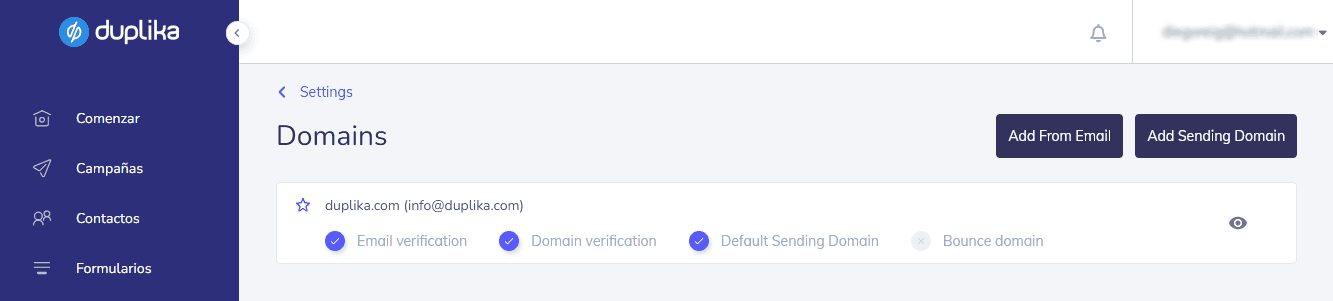
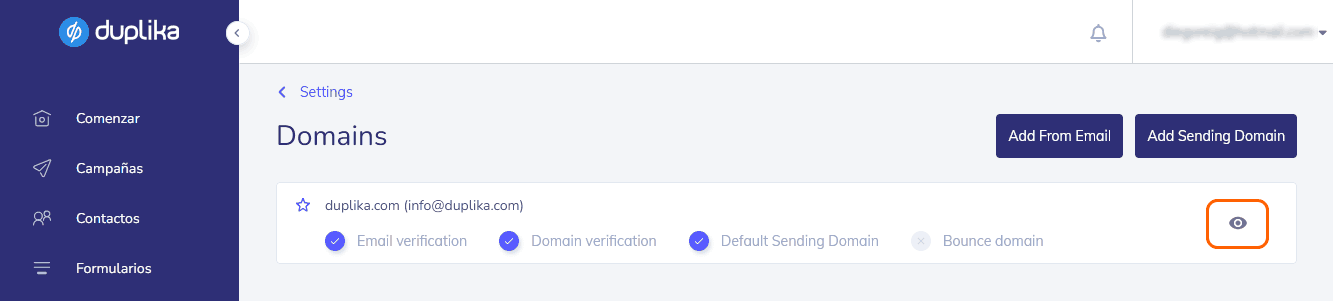
Un clic en el ojo señalado debajo abrirá los detalles de nuestro dominio y correo.
Se abrirá una ventana similar a la siguiente:
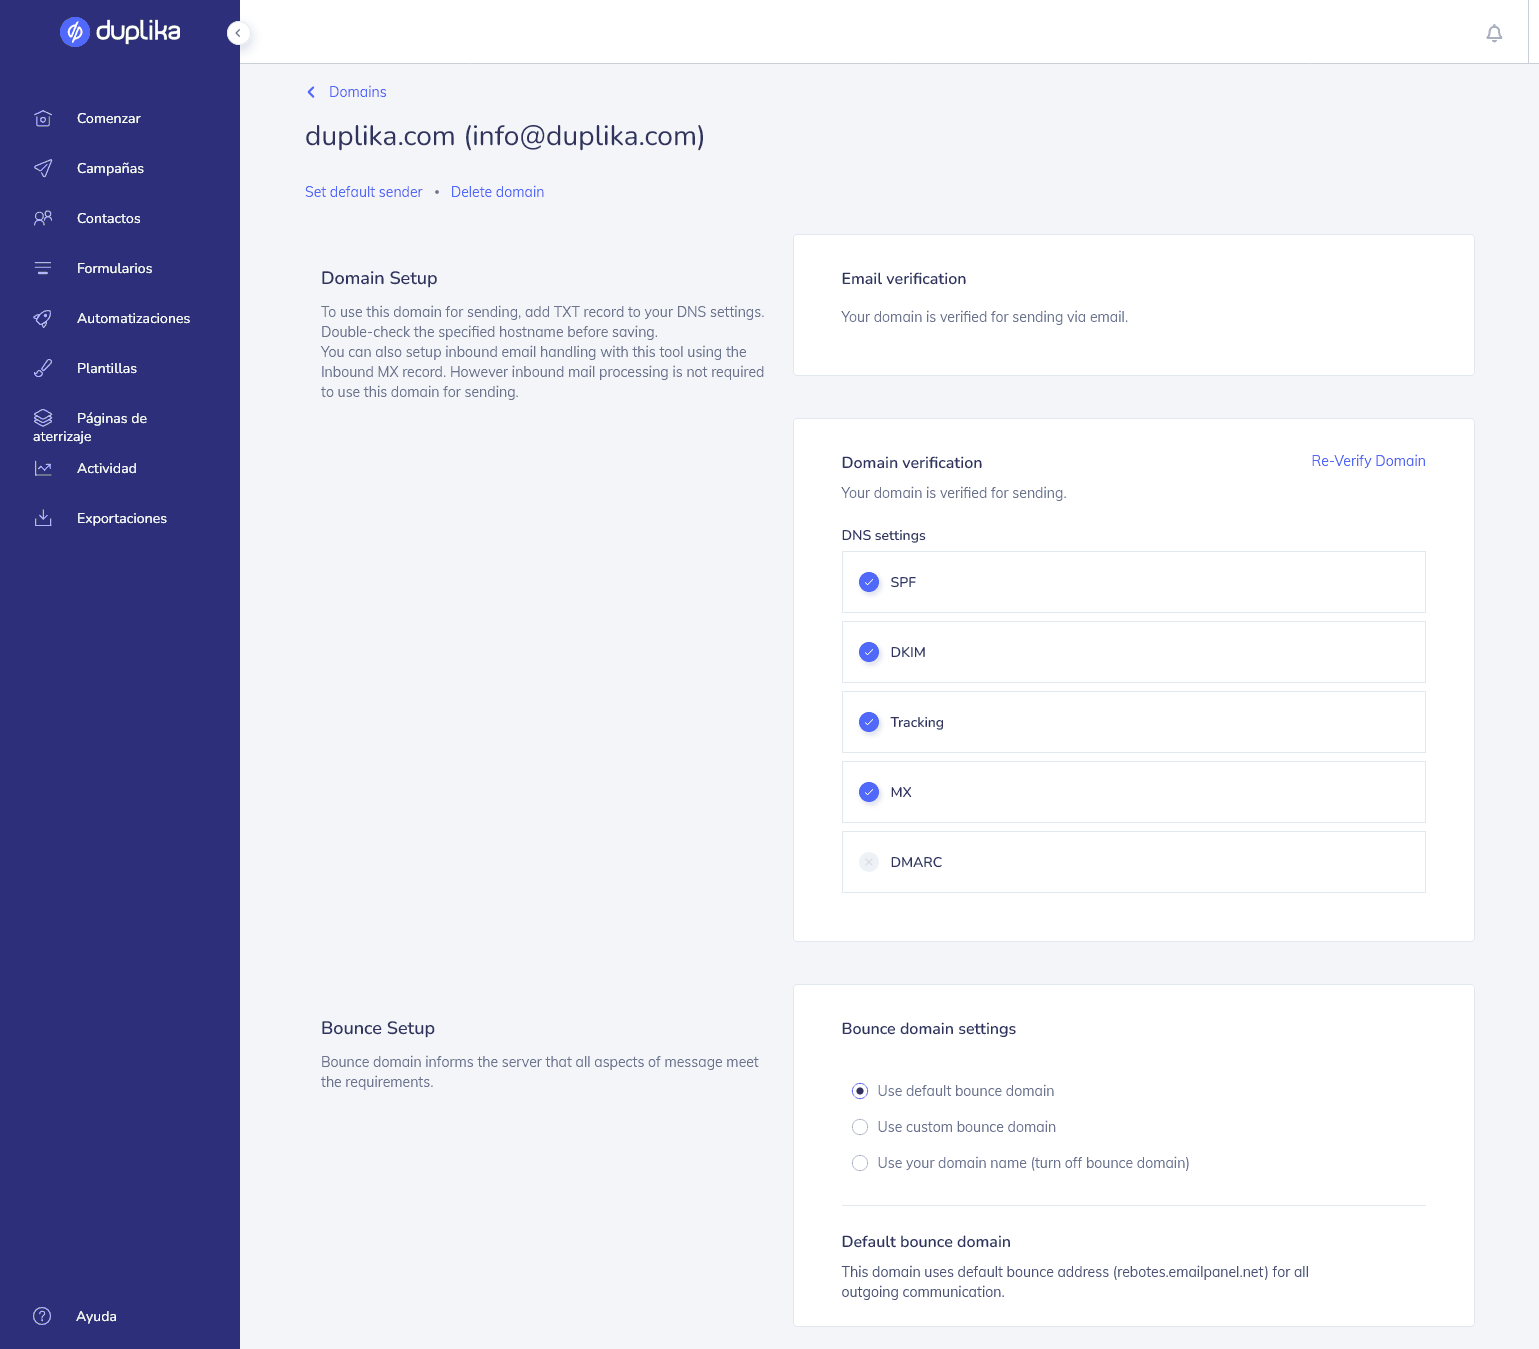
Aquí podemos verificar correos y dominios (incluyendo configurar un dominio de rebote).
Comenzado: ¿cómo verificar nuestro correo?
Es posible verificar nuestra dirección de correo electrónico en vez del dominio en sí.
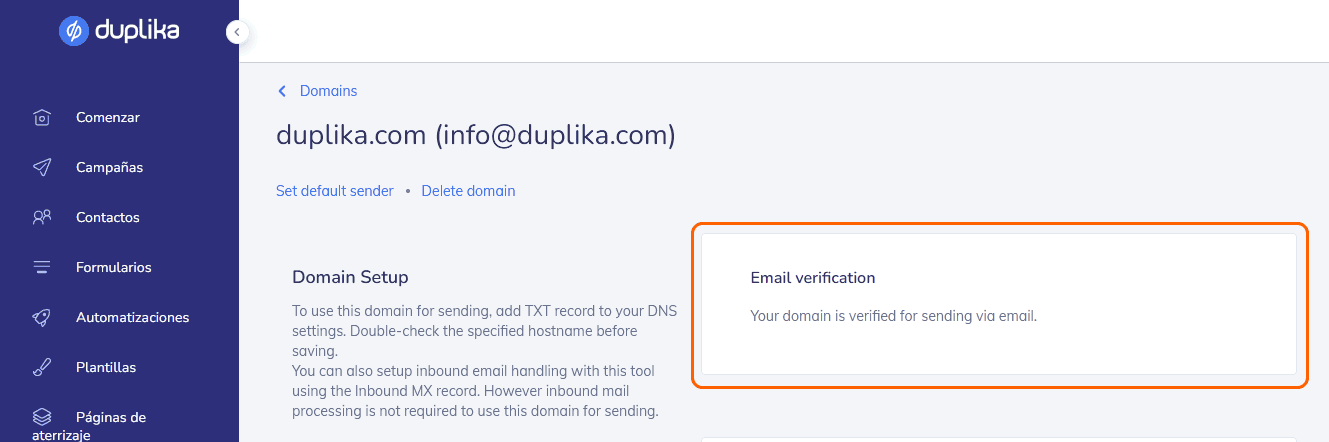
El proceso de verificación de correo electrónico es fácil ya que la dirección de mail asociada a nuestra cuenta, como habremos de comprobar, ya debe de estar aprobada.
Entraremos aquí:
Luego aquí:
Finalmente, aquí:
Si desemos añadir otra dirección de correo electrónico:
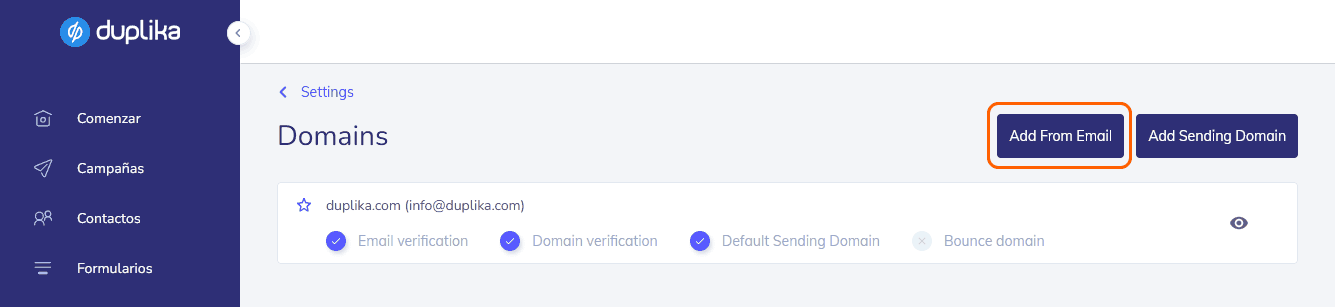
Tras presionar el botón señalado, ingresaremos el nuevo correo y verificaremos en la ventana emergente.
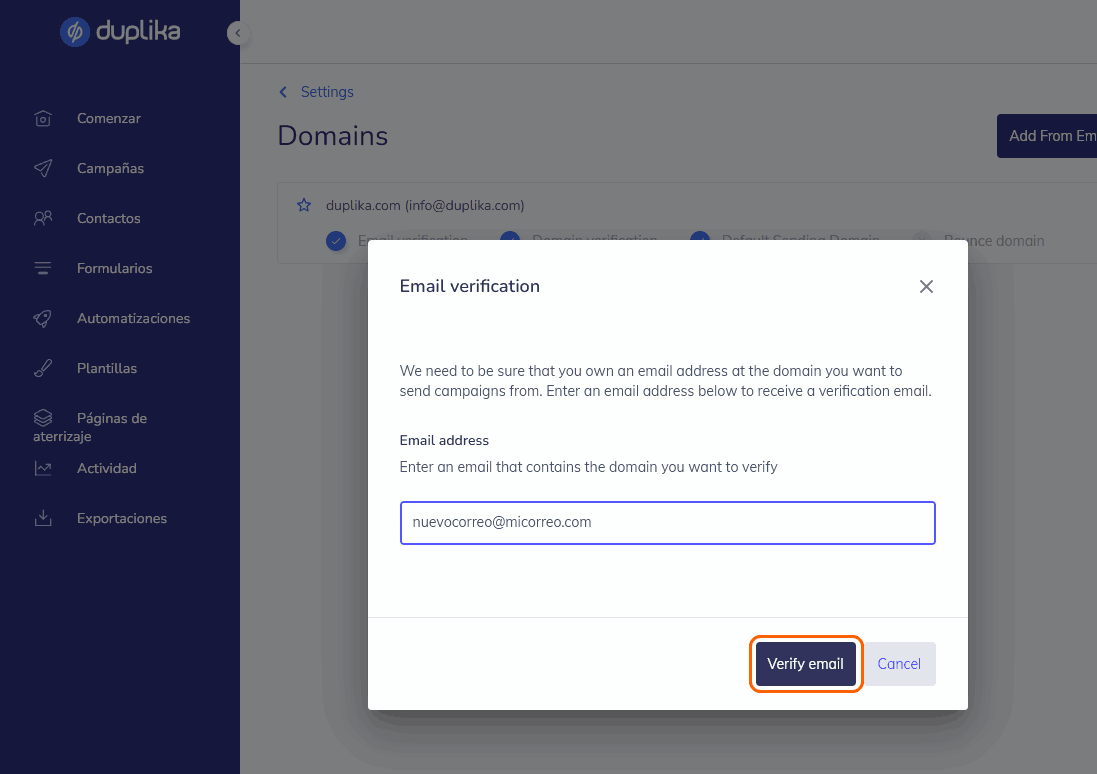
Debemos comprobar nuestra casilla de correo y hacer clic en el enlace de confirmación. Si no recibimos el correo, se recomienda verificar las carpetas de spam/correo no deseado.
Comenzado: ¿cómo configurar un dominio de rebote por defecto?
Un dominio de rebote nos permite establecer una dirección de correo electrónico a la que se enviará la información de los rebotes. La ventaja de tener un dominio de rebote separado es que favorece una reputación positiva con los servidores destinatarios.
Un "dominio de rebote" es también llamado return path, reverse path, envelope from y envelope sender.
Técnicamente, en Duplika Email Marketing el dominio de rebote será un subdominio de nuestro dominio principal. Ej.: rebotes.midominio.com
Para configurar un dominio de rebote:
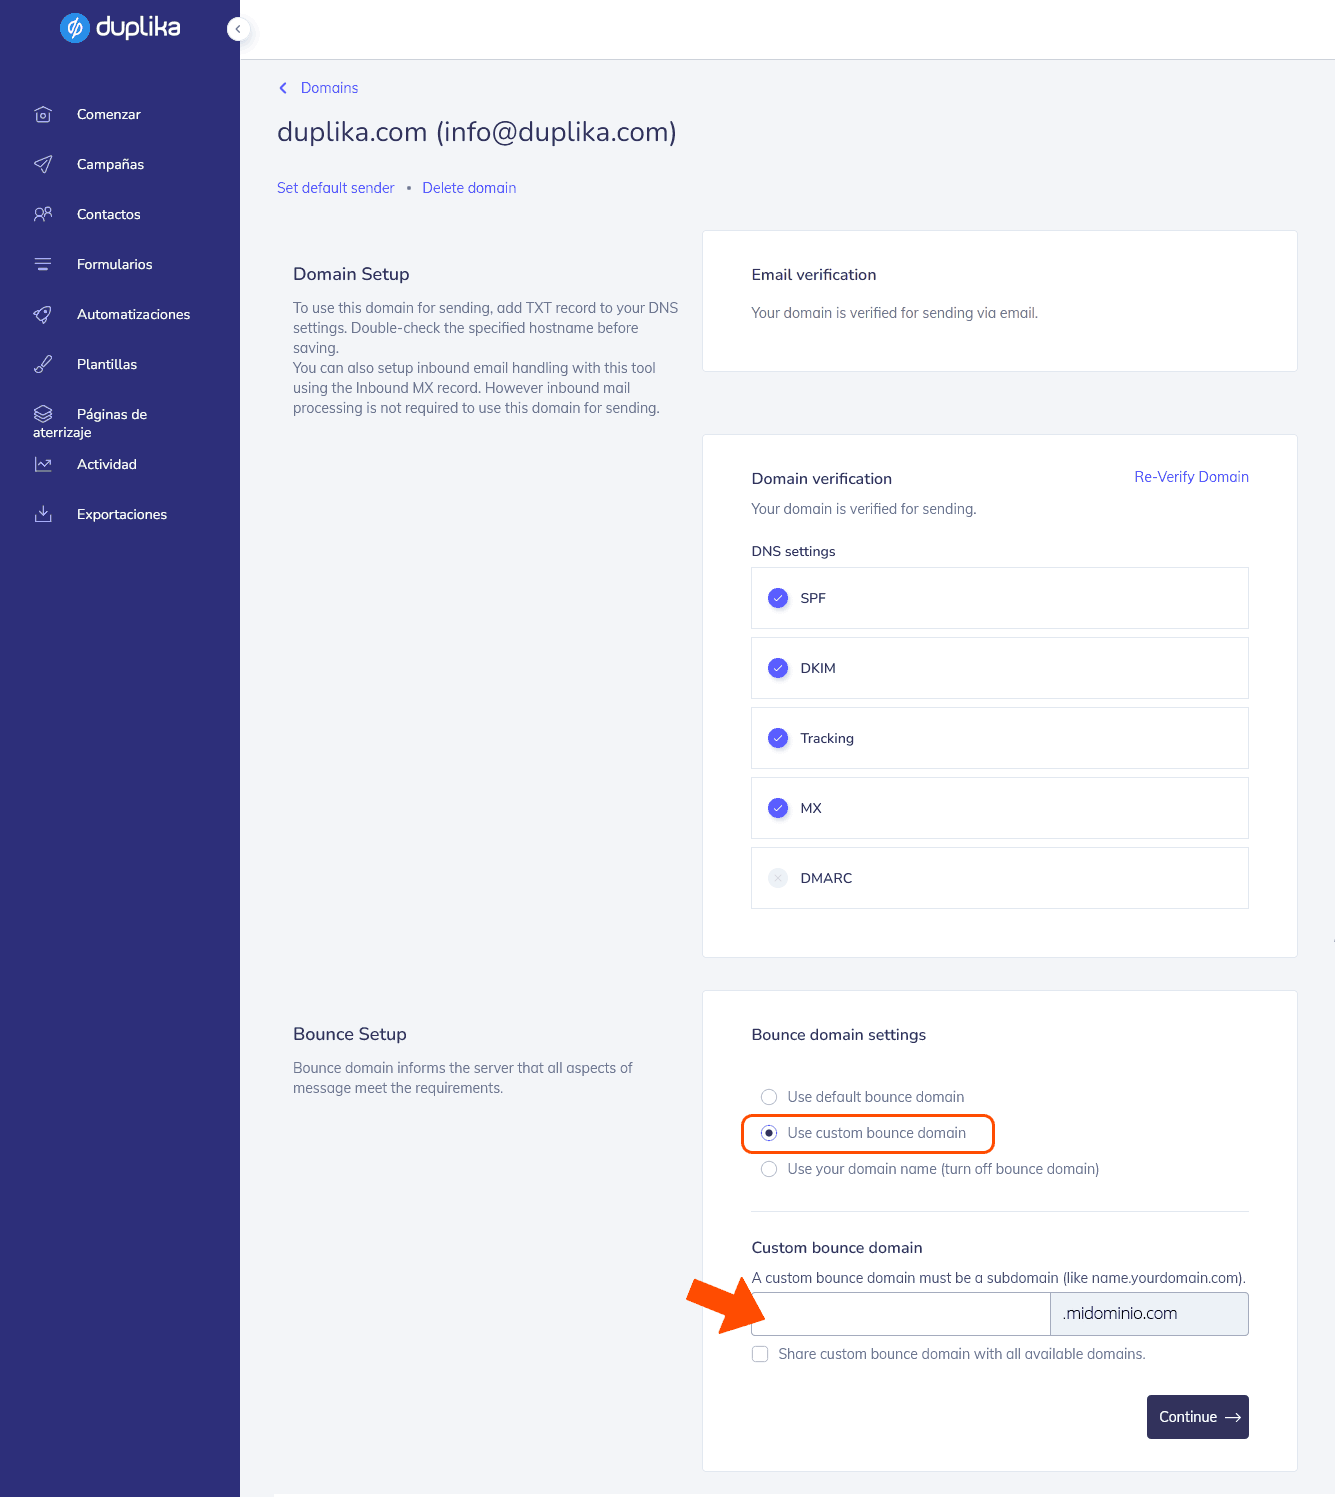
Recordemos tener el subdominio creado. Ante cualquier duda podemos enviar un correo a [email protected] para que nos ayuden.
Opcionalmente, podemos desactivar el dominio de rebote para que nuestra dirección de correo sea utilizada en su lugar.
Campañas: conociendo la pantalla de edición de campañas
Aquí veremos una sinopsis de lo que vemos en la pantalla de nuestras campañas.
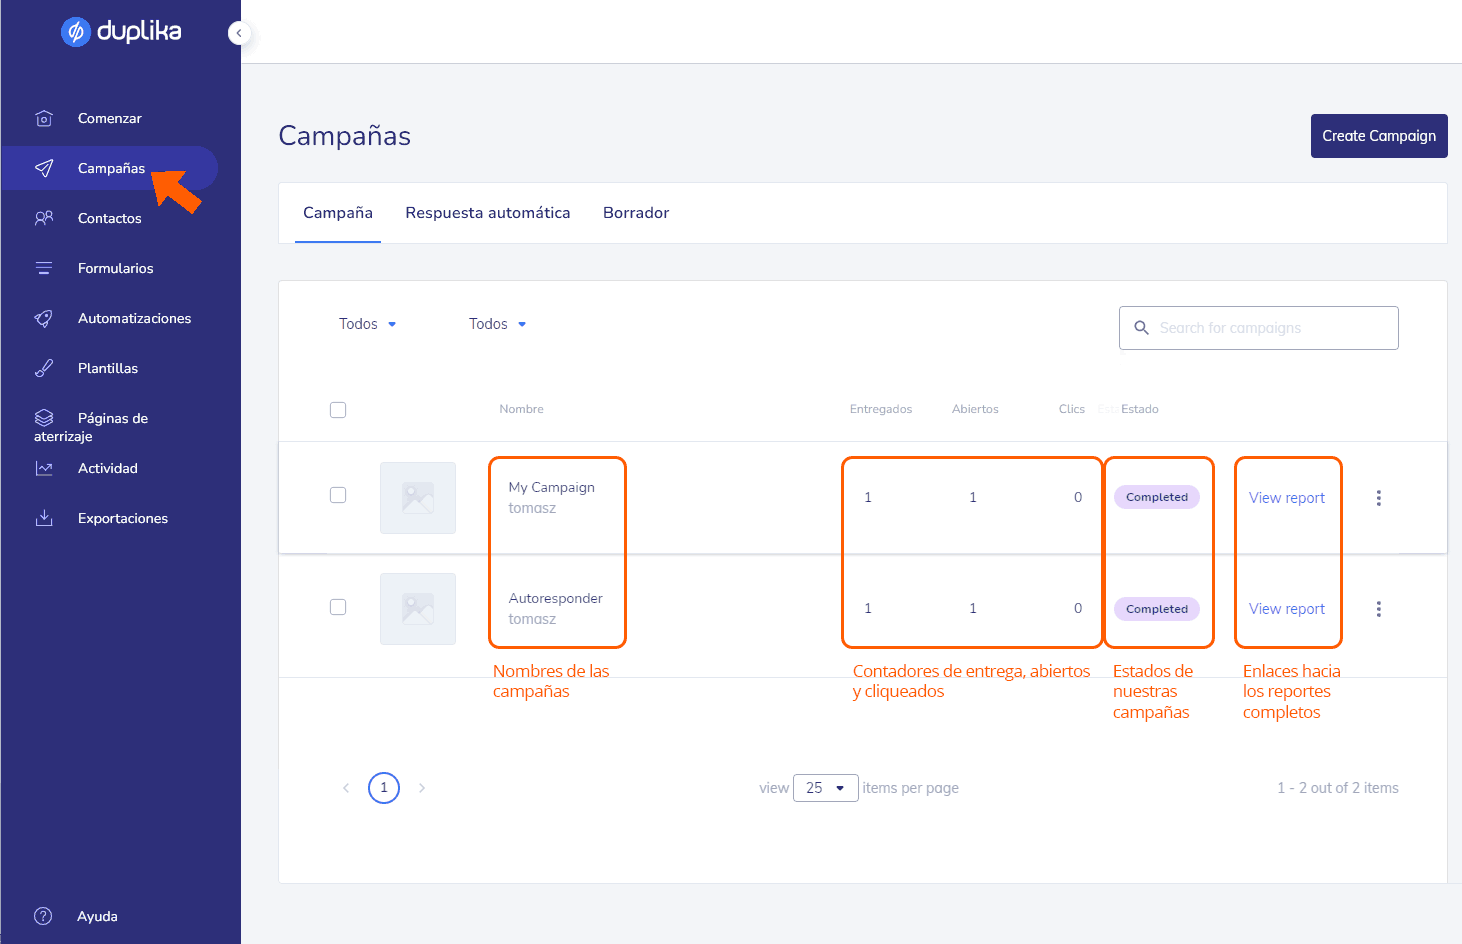
La Pantalla de Campañas es el punto de partida para enviar, justamente, campañas o programar una. También es donde veremos la lista de campañas que hemos enviado, y donde podemos revisar sus resultados.
Haciendo clic en el botón azul de Crear Campaña comenzaremos a crearla. Esto se explica en el siguiente punto.
Campañas: enviando nuestra primera campaña
Enviar un correo electrónico a cualquier grupo de contactos es una "Campaña". Para hacerlo, primero necesitamos dos cosas: una plantilla (que se convierte en el propio cuerpo del correo electrónico) y contactos (los destinatarios que reciben el correo electrónico). Empecemos por el principio: los contactos.
El método más fácil (y usado) para subir una lista de correos es cargando un archivo CSV. Es decir, tener los destinatarios en un Excel (o símil) para poder editarlos, y exportar a extensión .csv cuando lo necesitemos.
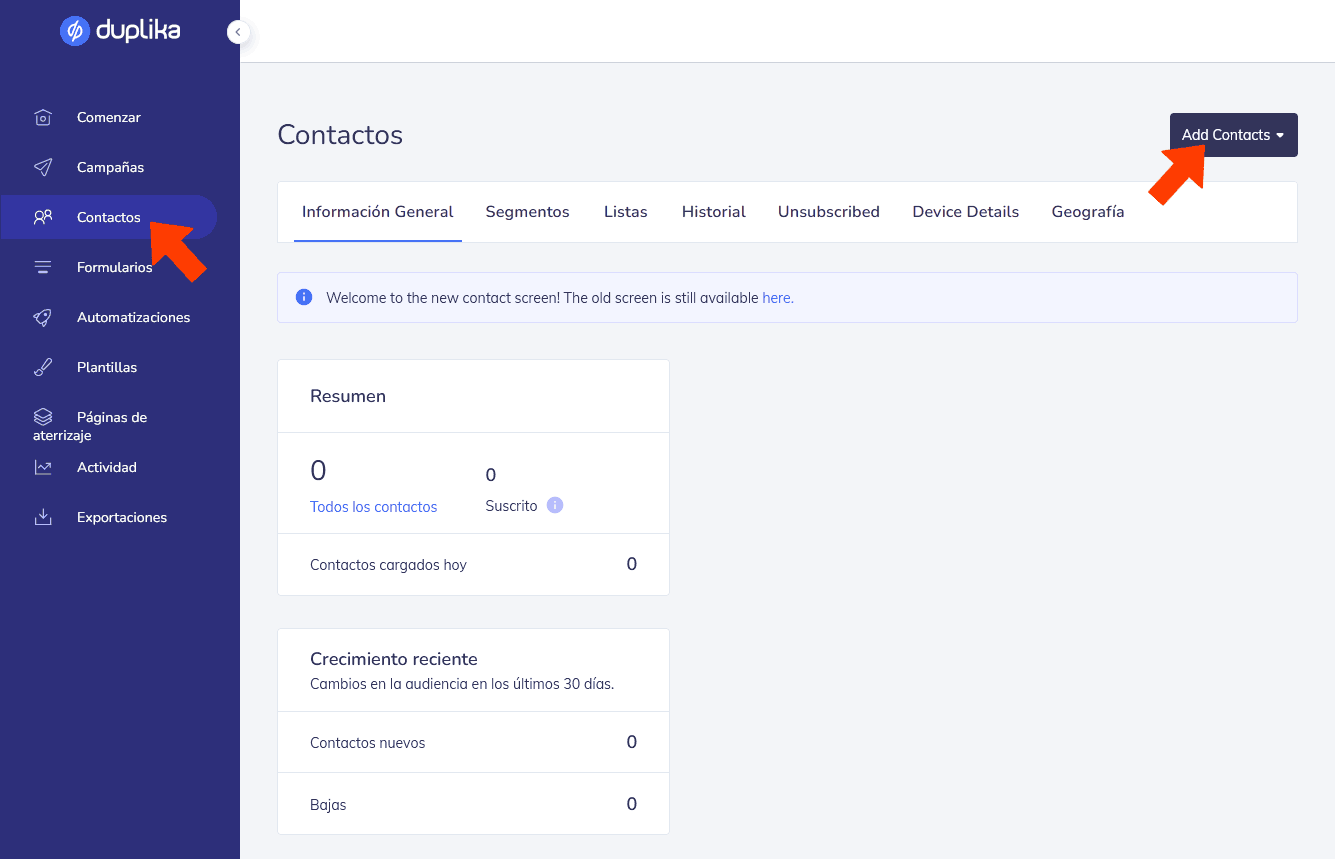
Nuestro archivo CSV debe de tener al menos una (1) columna etiquetada como 'email', ésa que contendrá la lista de direcciones de correo electrónico.
Ejemplo:
email
[email protected]
[email protected]
[email protected]
etc
Logrado este paso, necesitaremos configurar una Plantilla.
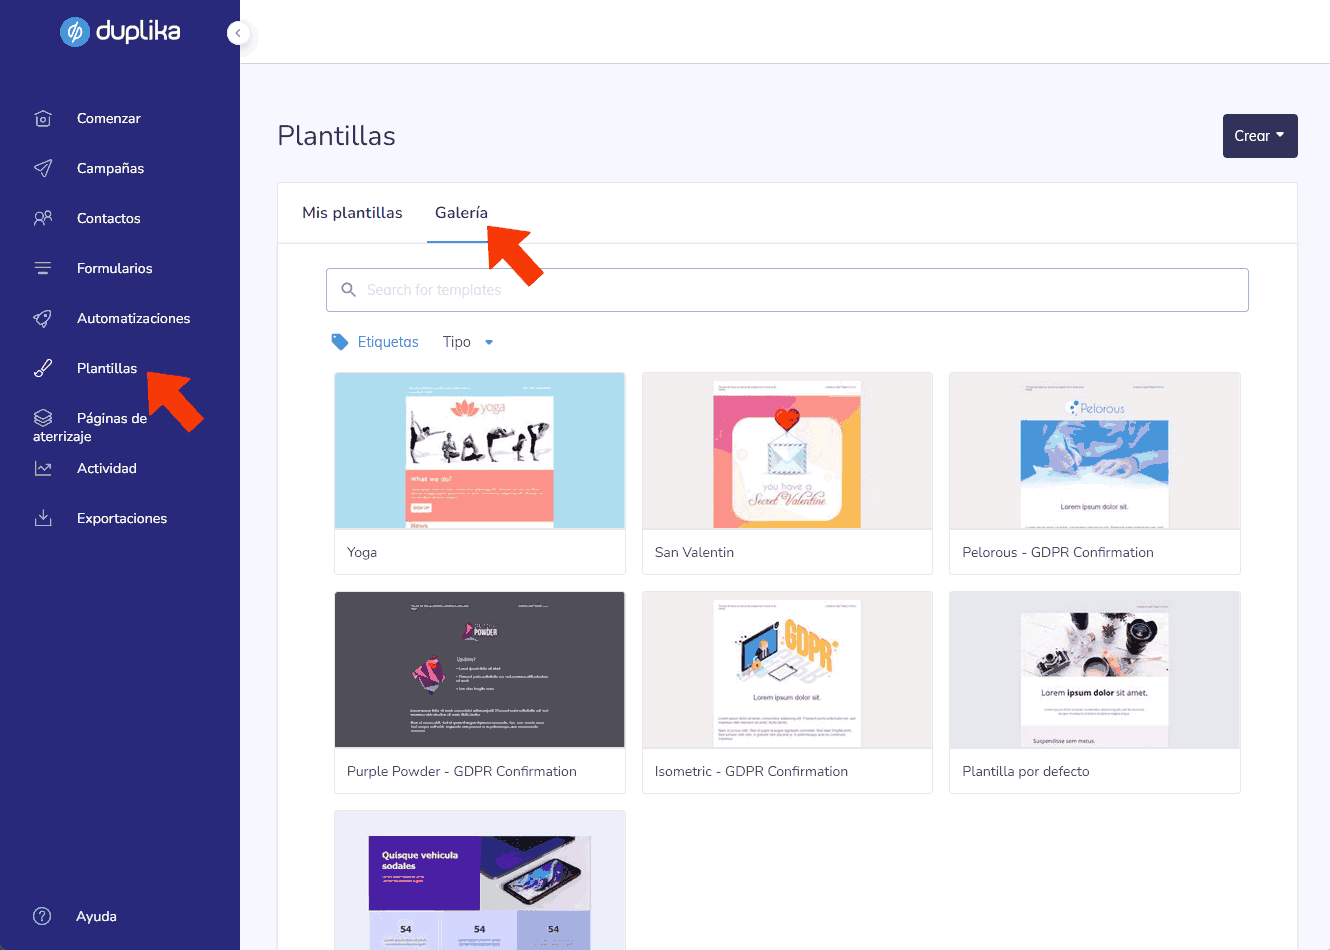
Hay muchas plantillas para elegir, y también muchas maneras de personalizarlas. Debajo vemos la edición de la primera plantilla de la galería, "yoga". Todo lo que vemos, texto, colores e imágenes, son fácilmente editables/reemplazables. Podemos quitar y añadir elementos a antojo.
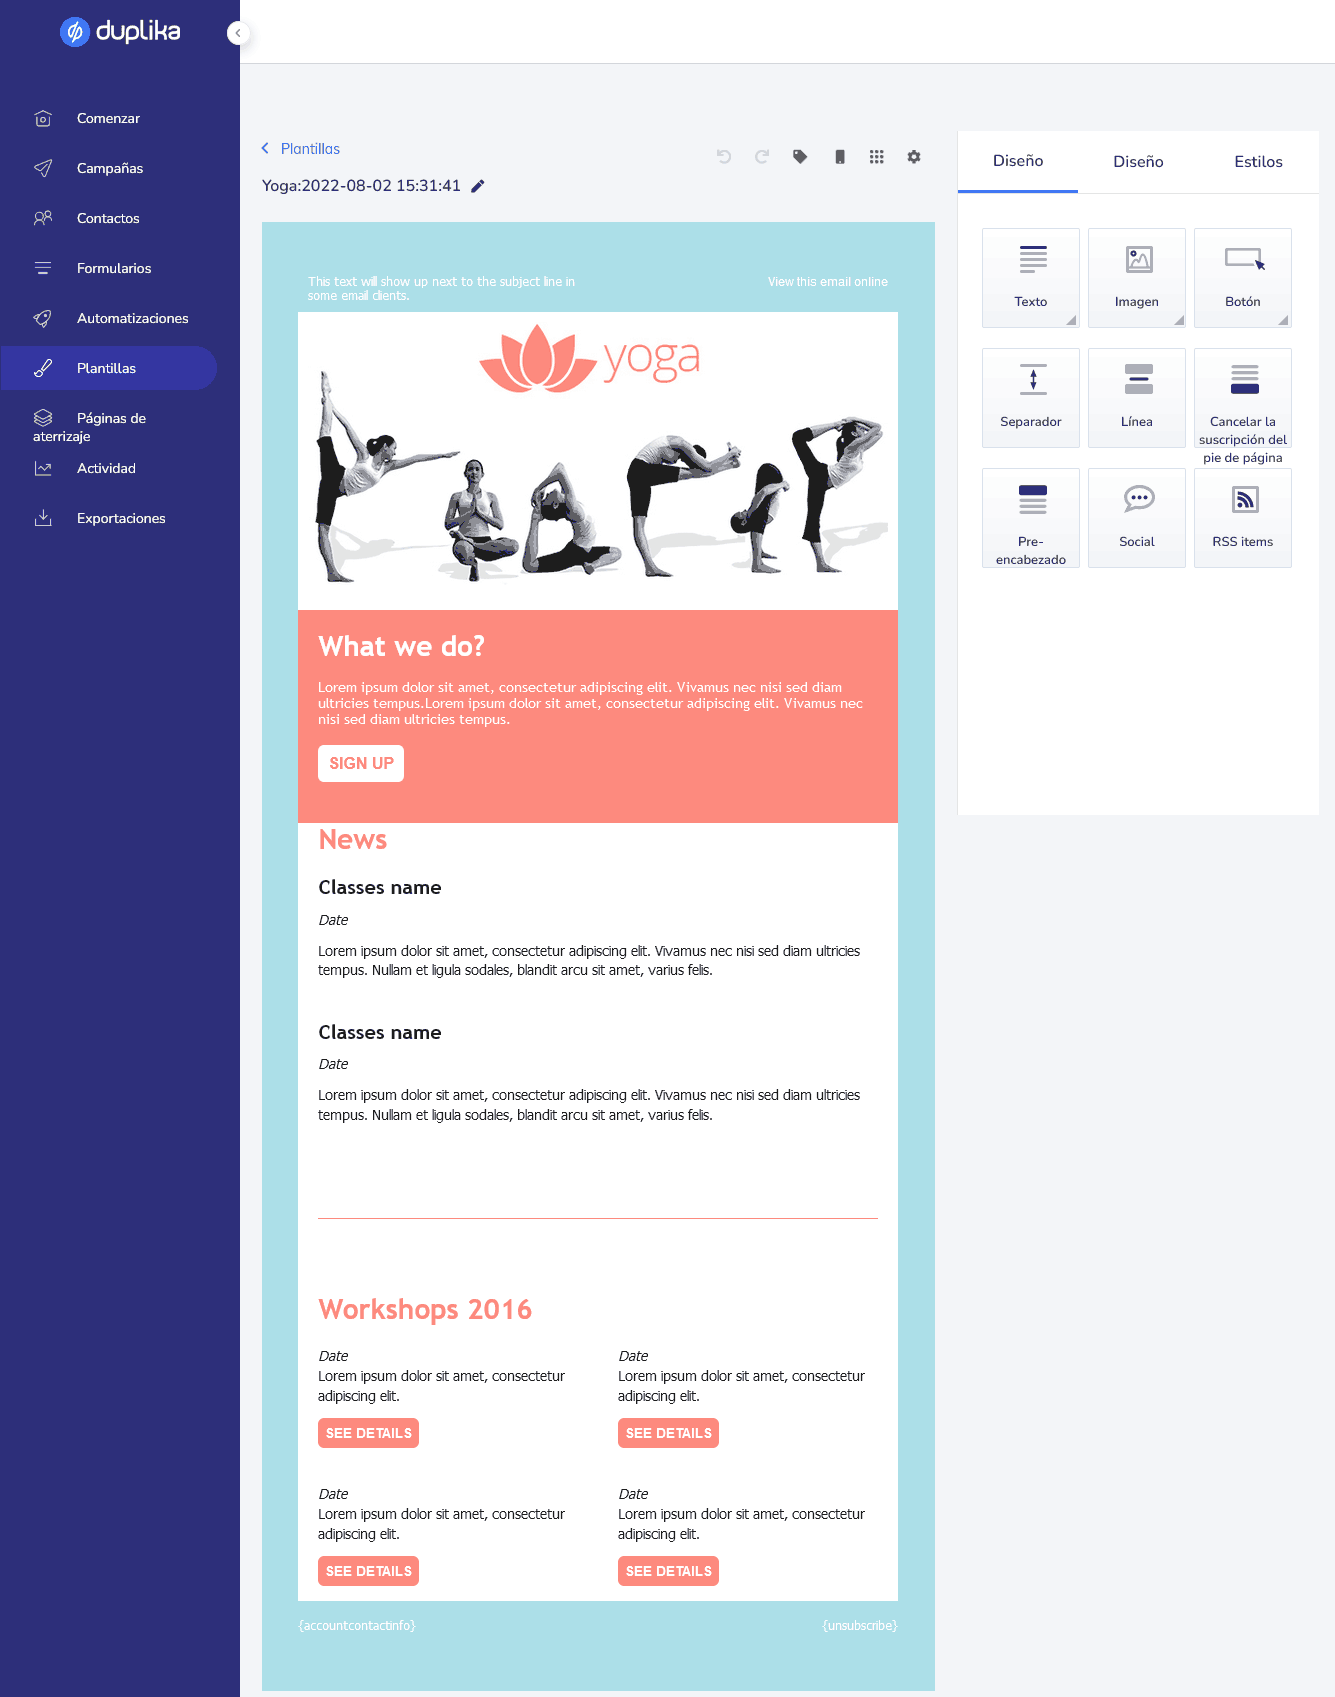
A la derecha contamos con elementos que podemos añadir, distribuidos en tres categorías/solapas.
Se recomienda jugar un poco con los elementos, tocar para editar los textos y familiarizarnos un poco con las herramientas. Nota: los cambios se guardan automáticamente, creándose una plantilla nueva en "Mis Plantillas".
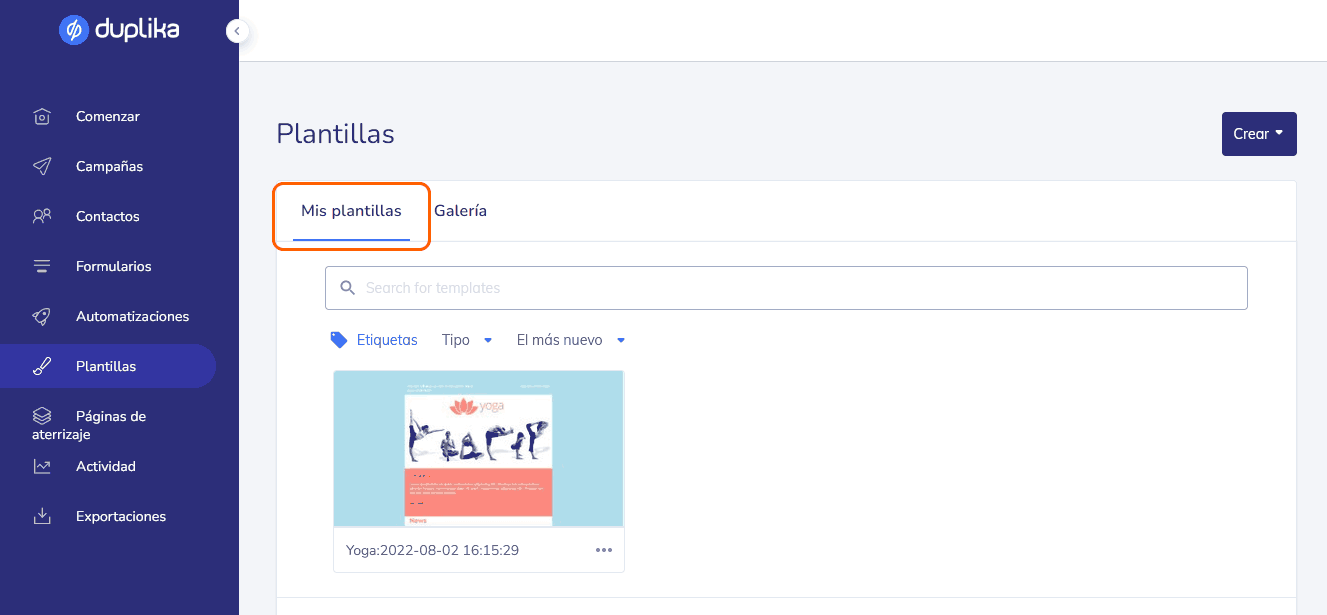
Una vez creada nuestra Plantilla, ahora sí podremos iniciar nuestra Campaña.
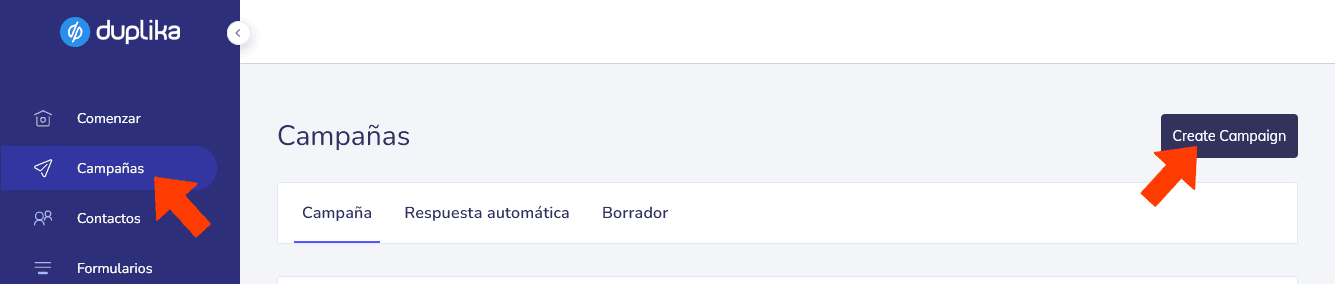
Tras darle clic al botón señalado, veremos:
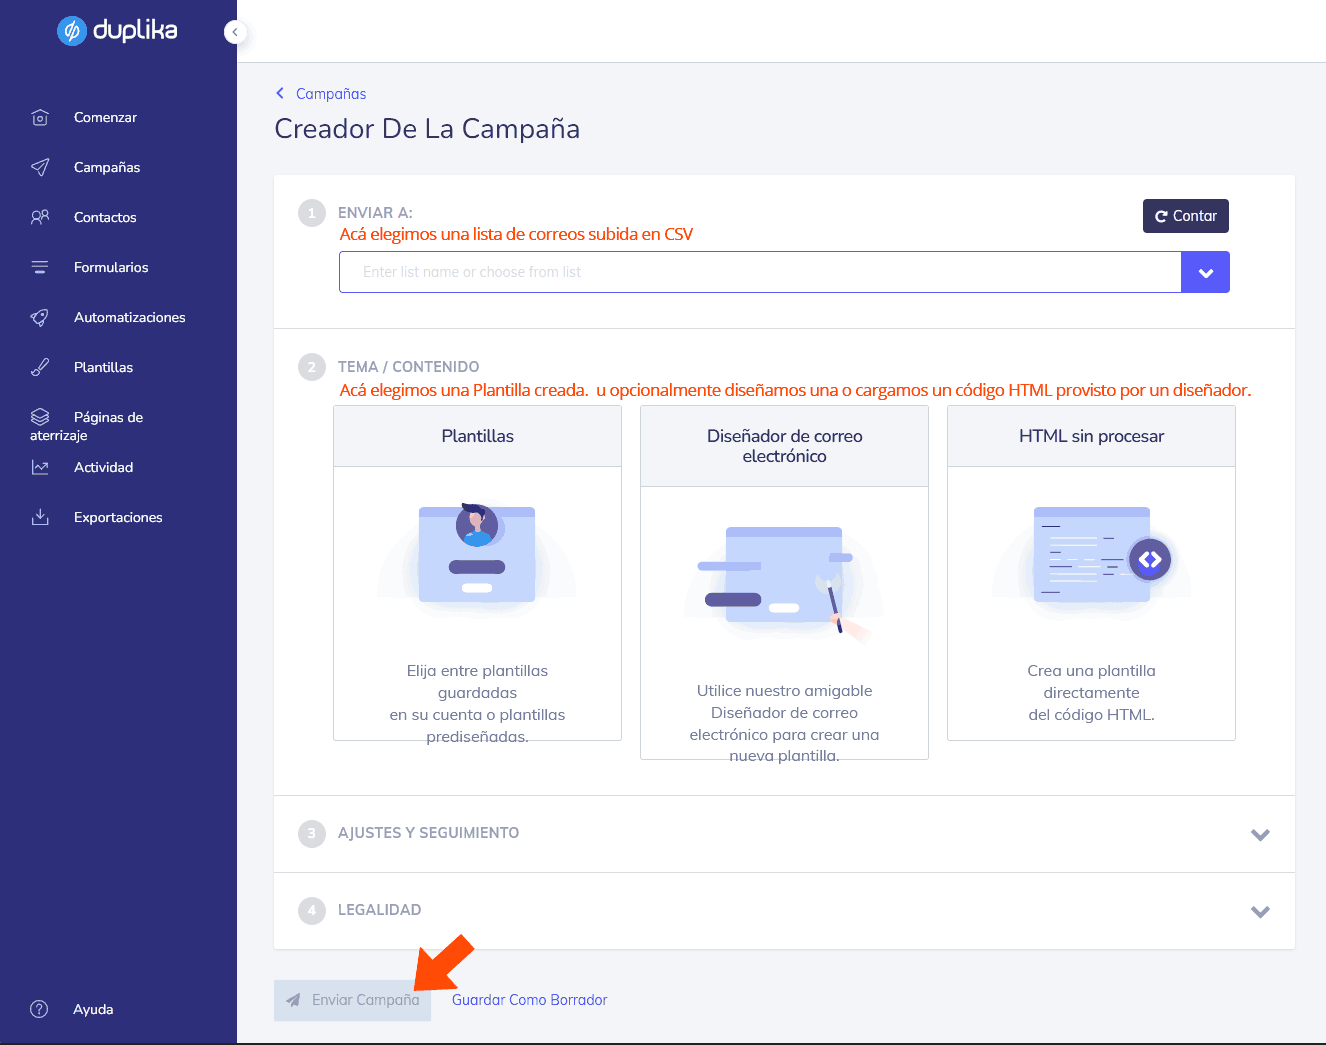
No hace falta distraerse con nada más que elegir la lista de contactos, la Plantilla creada y presionar "Enviar". La campaña se procesará.
Contactos: gestionando nuestros contactos
Nuestros contactos son, probablemente, la pata más importante de nuestra estrategia de marketing. Sin suscriptores, no tendríamos una audiencia para nuestras campañas de correo electrónico. Y saber cómo manejarlos adecuadamente puede requerir tanto algo de práctica como emplear correctamente las herramientas.
En este punto es importante que sepamos algo de antemano: la diferencia entre Segmentos y Listas Estáticas.
Las Listas son, justamente, una enumeración de correos estáticos. Los Segmentos, en cambio, son una lista que cambia dinámicamente según criterios de consulta.
Ejemplo: cuando cargamos un archivo .csv, los correos se agregan a una lista nueva o existente. Ese conjunto particular de contactos no cambia; permanece estático en esa lista.
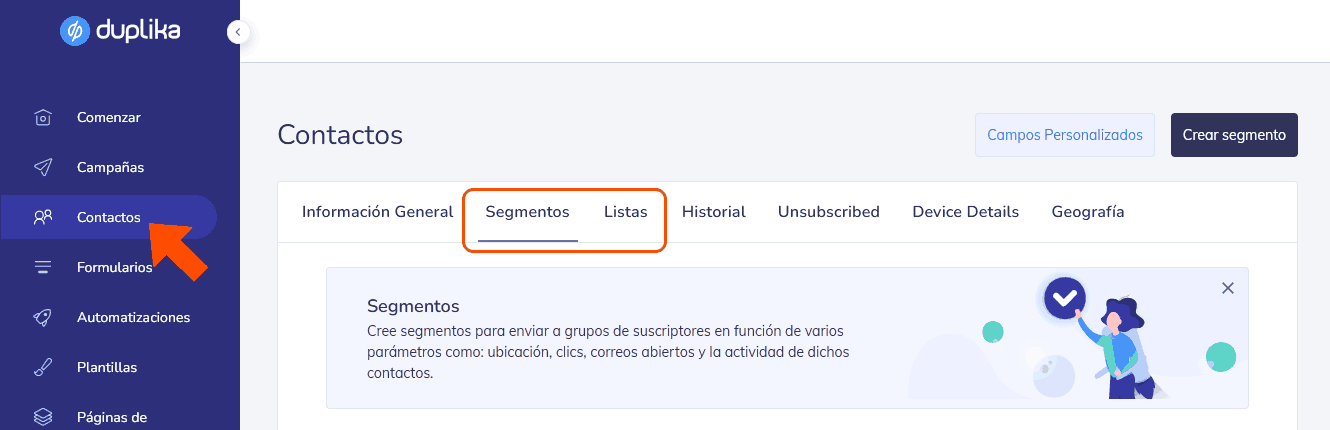
Un segmento es completamente dinámico: sólo contiene los contactos que coinciden con la consulta de los segmentos. Un ejemplo claro es el Segmento "Contactos involucrados", disponible de forma predeterminada en la mayoría de las cuentas. Dicho segmento sólo contiene contactos con un estado Involucrado (engaged) implicando que el contacto ha hecho clic o ha abierto su correo electrónico en los últimos 6 meses.
La pantalla principal de contactos nos da un pantallazo de lo que está pasando con nuestro marketing.
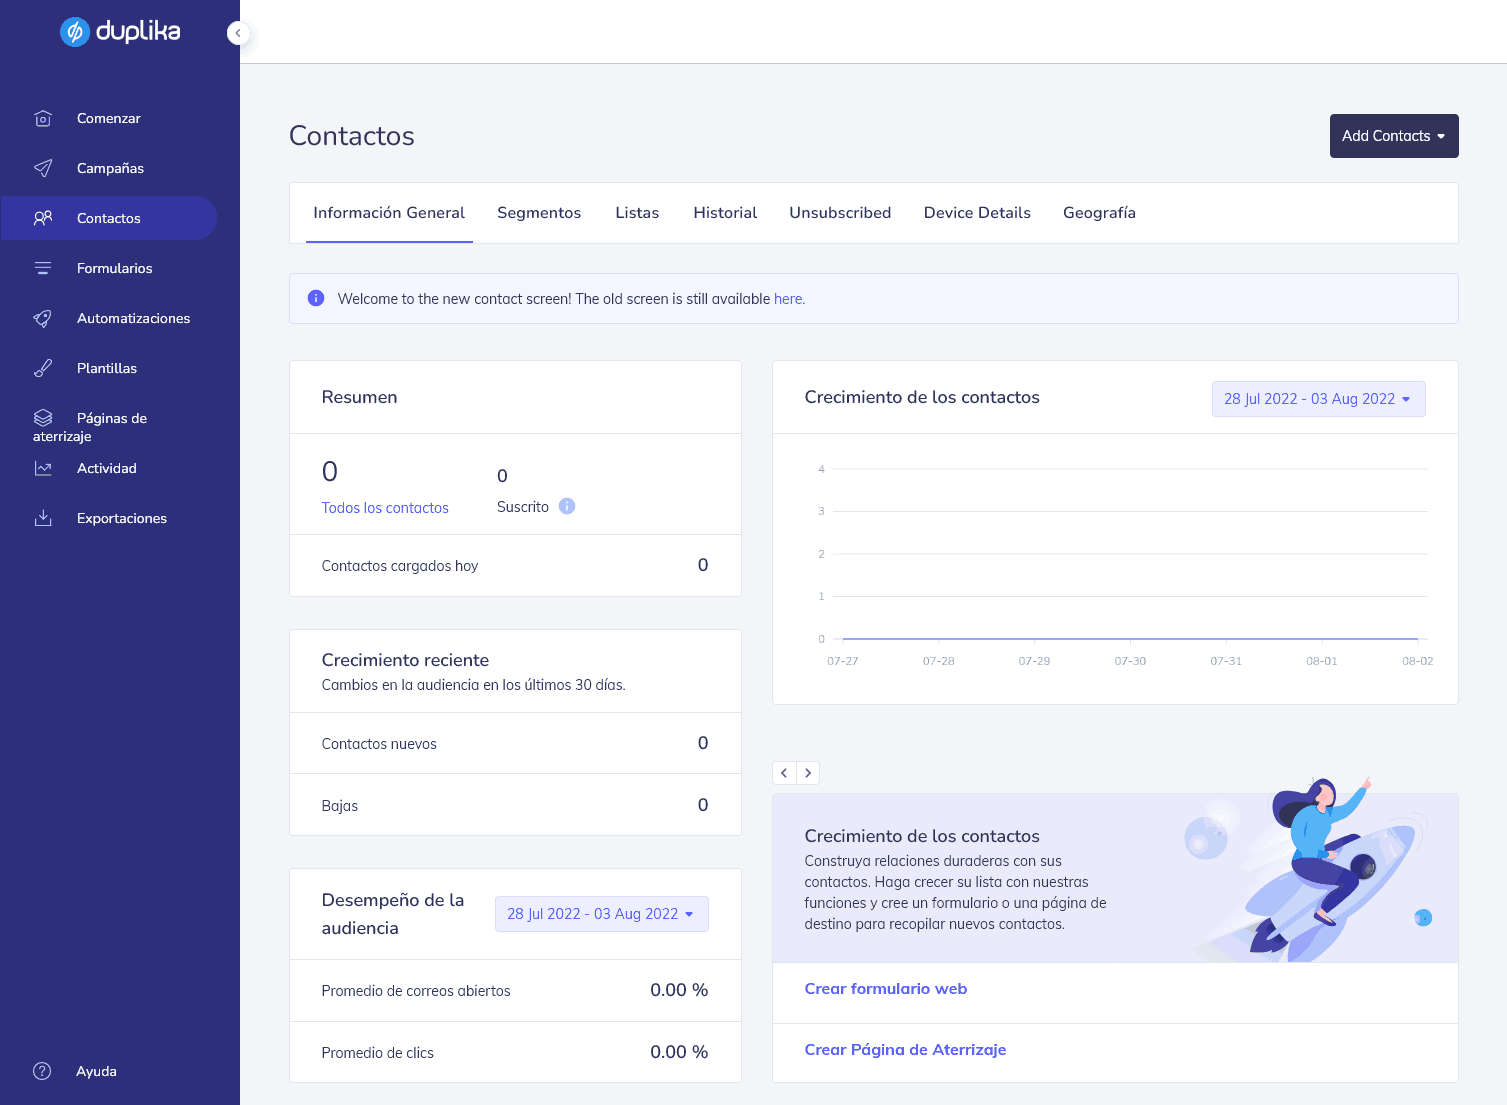
En el cuadro de Resumen vemos todos nuestros contactos, los suscritos y también contactos que se agregaron hoy.
En Crecimiento de los Contactos veremos un gráfico que refleja los cambios en el número de contactos. Podemos ajustar el intervalo de fechas para precisar un período de tiempo.
En Crecimiento Reciente visualizamos los cambios en el número de los contactos y suscriptores que se dan de baja dentro de los últimos 30 días.
Desempeño de la Audiencia señala la participación de nuestros contactos y se divide entre porcentajes de aperturas y clics.
Para crear una nueva lista de contactos, entrar al siguiente enlance:
Recordemos que podemos cargar una lista tipo CSV (que es lo más común). Durante el proceso podemos también habilitar que los destinatarios se puedan desuscribir. Si lo permitimos, esta configuración funciona con el campo de combinación {unsubscribelist} para permitir a los destinatarios ver en qué listas se encuentran.
La pestaña de Historial nos permitirá seleccionar y ver los recuentos de segmentos en un gráfico en función del tiempo. Debido a que los segmentos son dinámicos, variarán con el paso del tiempo.
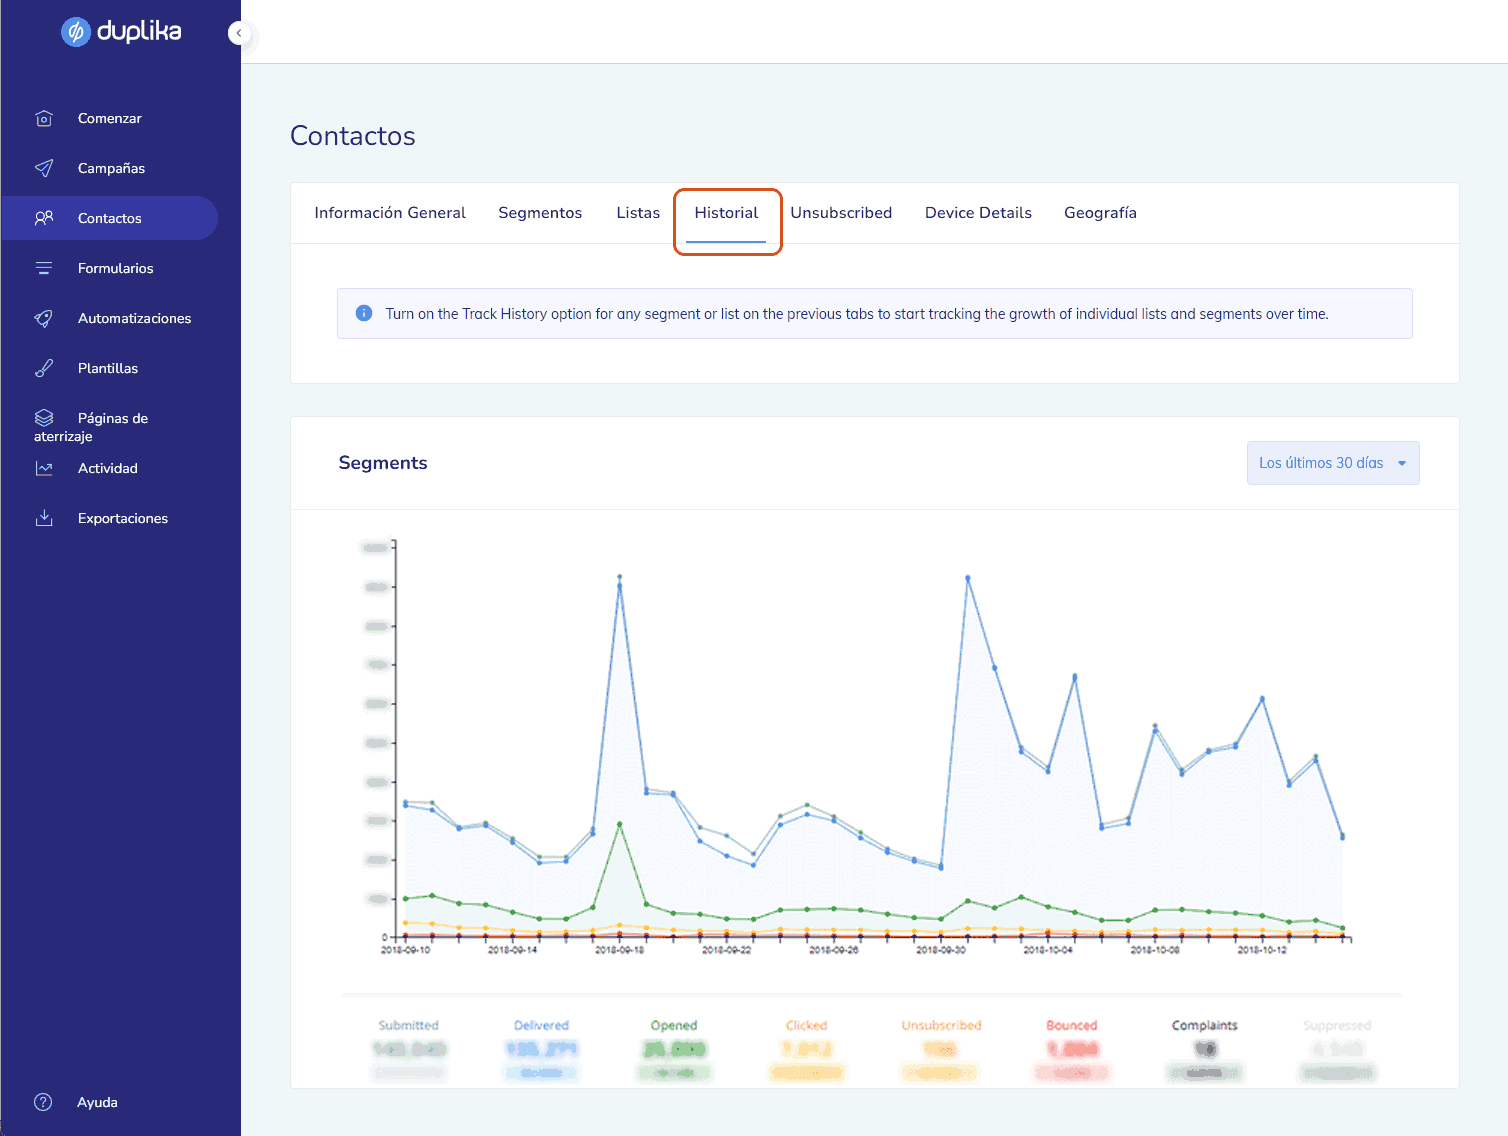
El gráfico ofrece una representación visual de los cambios de segmento en los últimos 30 días.