

Enable Cloudflare
Updated 3 months ago
Cloudflare is a service that acts as an intermediary between our website and its visitors. Basically, it clones our website across many different servers around the world, so that a user accesses the copy that is physically closest to them (a user in Spain will access our website hosted in Spain, while a user in Mexico will access a data center located in their country: see How Does Cloudflare Work?)
At the same time, the service offers improvements in speed, security, and availability.
Enabling it is a simple process that we can complete in just a few minutes.
Step 1: Create a Cloudflare account
We need to go to https://dash.cloudflare.com/sign-up
We need to sign up with an email address (or social media account) and a password.
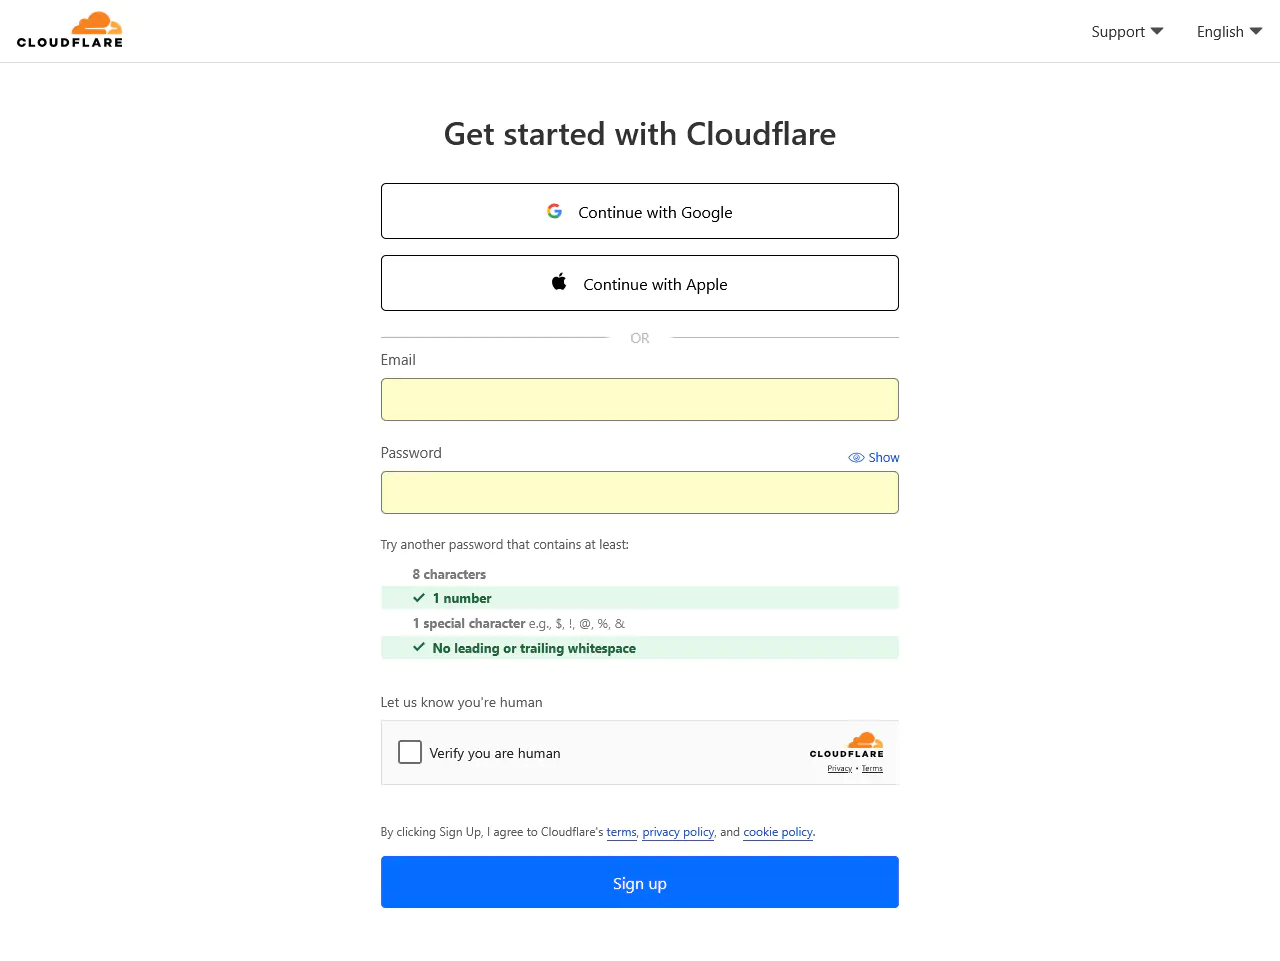
If we use an email address, we’ll need to confirm it using the email Cloudflare sends us.
Step 2: Add our domain to Cloudflare
Once we’re in the Cloudflare dashboard, we’ll click the “Add” button.
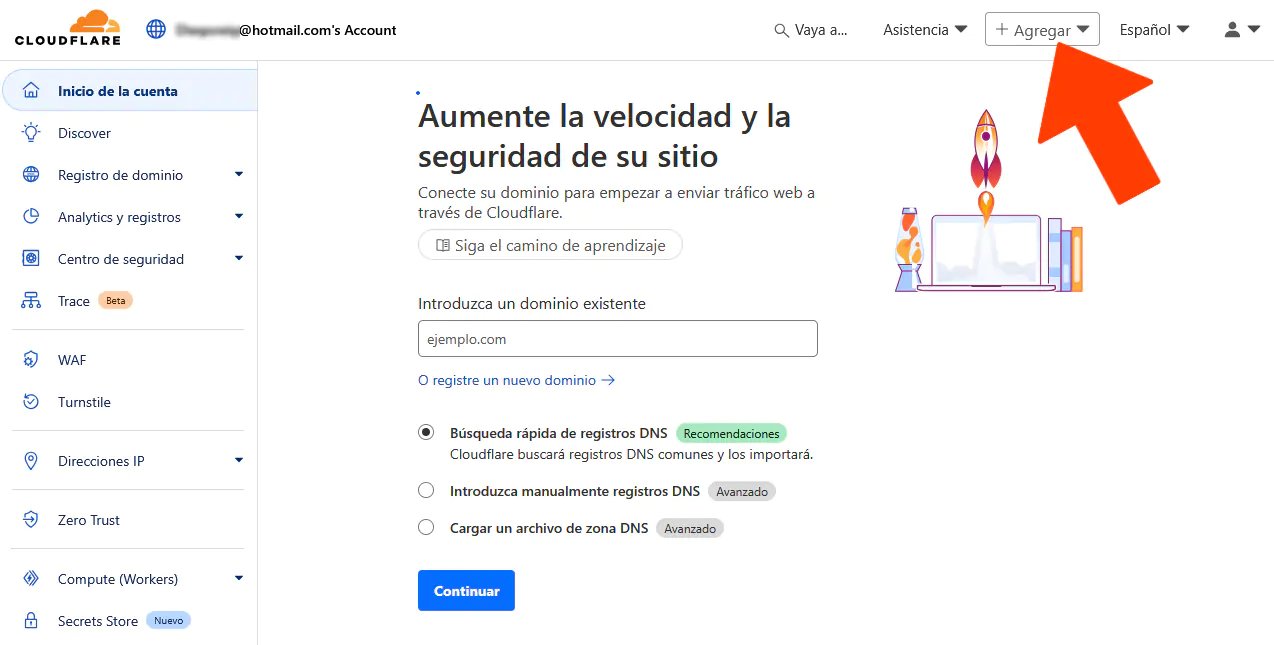
We’ll enter our domain in the field provided (example.com) and then click the “Continue” button.
We’ll choose the free plan (Free) if we don’t need advanced features (most users don’t need a paid plan). In any case, if our website eventually requires it, we can upgrade to the PRO plan without any issues.

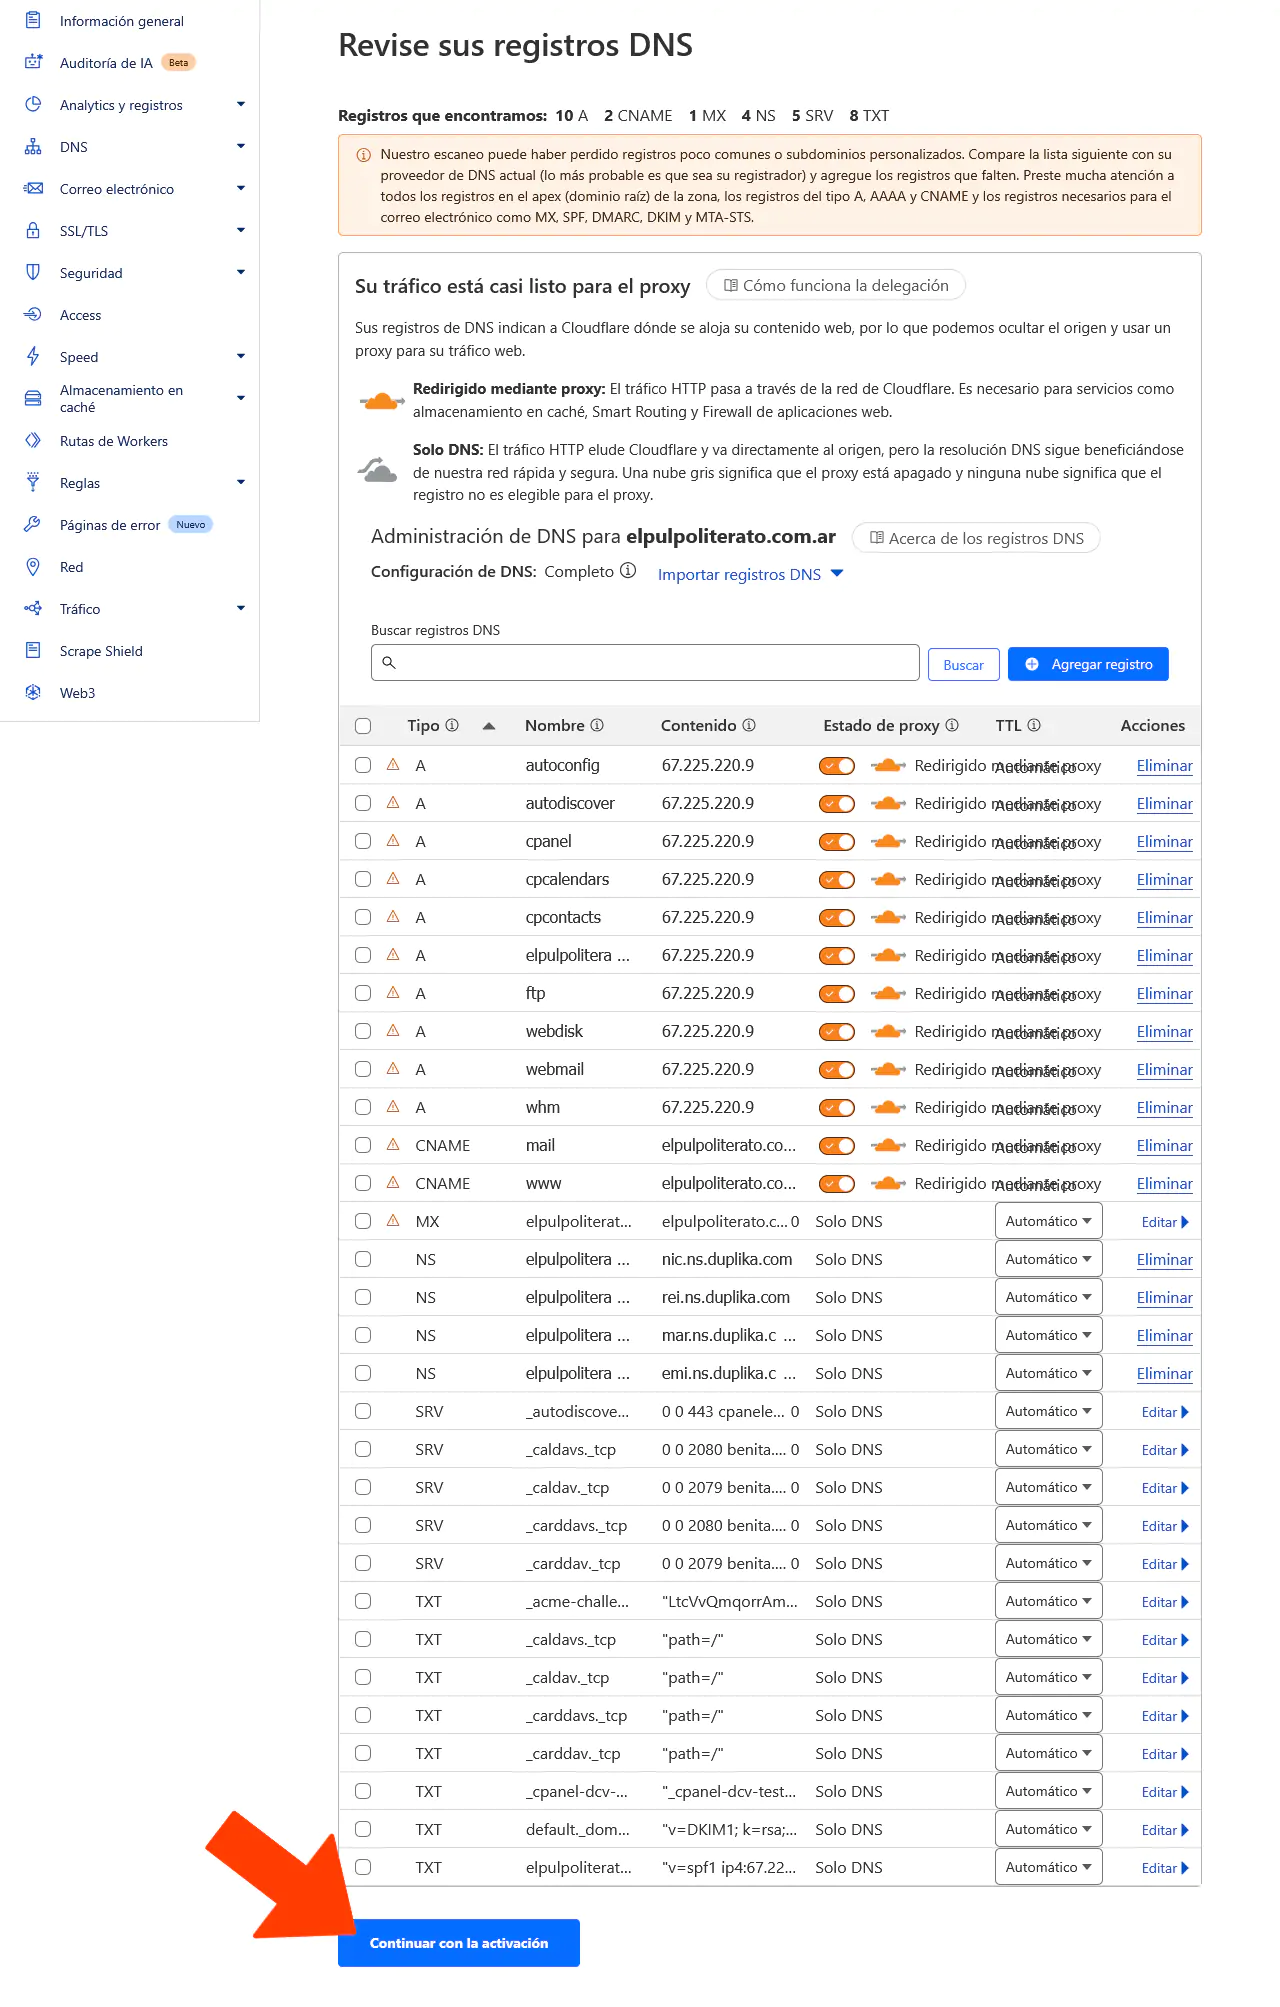
After this step, Cloudflare will automatically scan the existing DNS records. To be safe, we can verify that the information is correct by comparing it with the current records from our hosting provider (although if we entered our website’s URL correctly, the retrieved data should be accurate).
We need to find the final blue “Continue with activation” button and click it.
Step 3: Update the DNS settings at our domain registrar
Cloudflare will provide us with two new nameservers or DNS servers (e.g., ns1.cloudflare.com and ns2.cloudflare.com). We’ll need to reconfigure our domain with these through our provider (that is, the company that sold us the domain, such as Nic.Ar, GoDaddy, Duplika, Hostway, Namecheap, etc.).
To do this, we’ll need to log in to the provider’s control panel and find the DNS or nameserver management section.
There, we’ll replace the current DNS settings with those provided by Cloudflare and save the changes.
Note that the so-called “DNS propagation” (that is, updating the DNS settings from one server to another—in this case, to Cloudflare) can take up to 24 hours.