
How to create a WordPress clone / staging site
Updated 2 months ago
To create a private staging environment for our WordPress site, in order to clone the site and perform tests on our private clone, we must follow the instructions below:
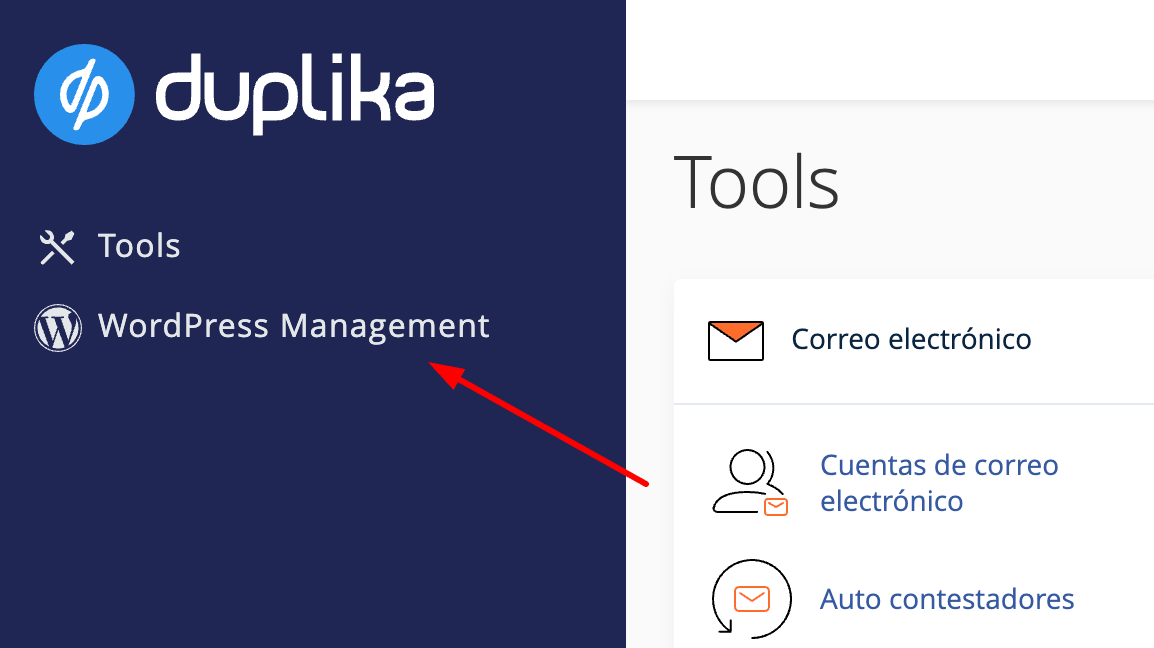
Access WordPress Management
First, we access our cPanel and select WordPress Management on the left side of our panel.
Clone Installation
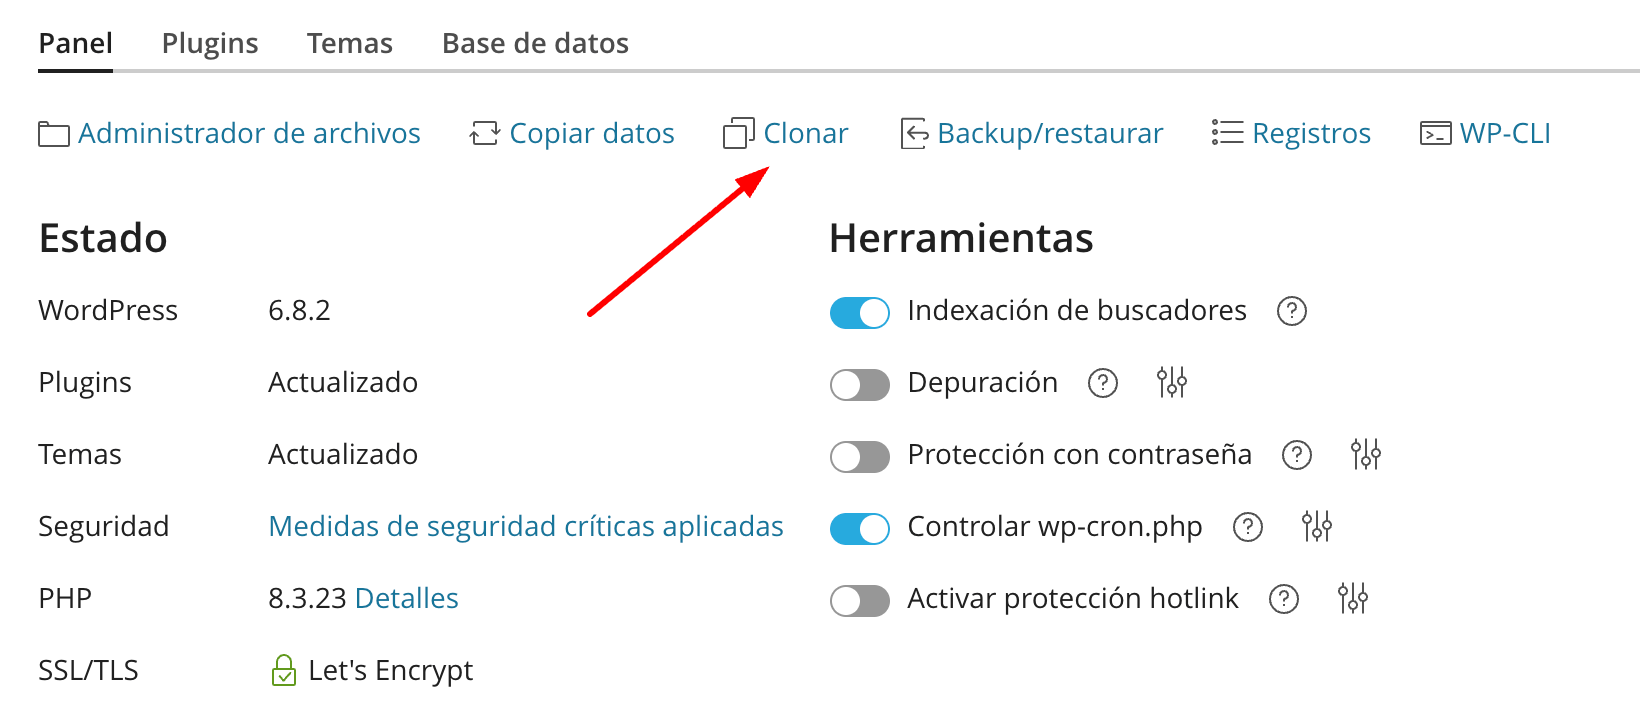
Here, we find the installation we want to clone and click Clone:
A window will open to determine the clone's location. We recommend using a subdomain such as staging.domain.com or dev.domain.com, and that's it.
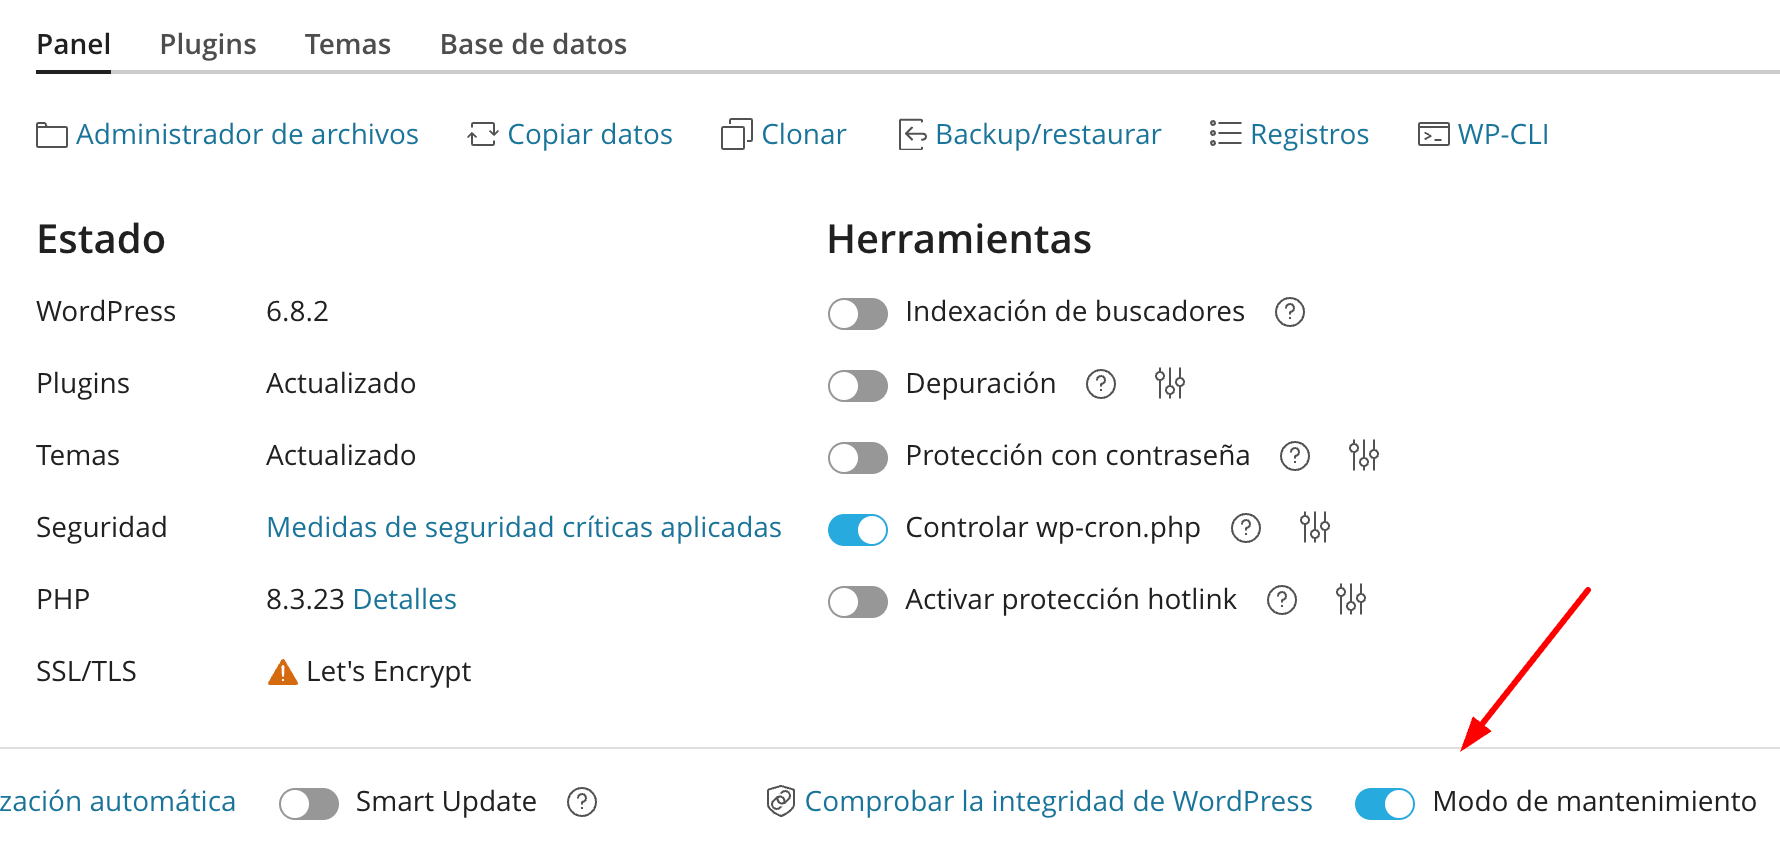
Enable maintenance mode
Once the process is complete, we recommend enabling the "Maintenance mode" option to prevent the new site from being accessible to anonymous users and show the site only to logged-in administrator users.
Disable plugins
We suggest keeping the following plugins disabled on the staging site to avoid interfering with the main site or sending incorrect emails to customers, if the site is a test site and you do not plan to move any changes to the main site afterward.
Google Analytics, Site Kit, or any other plugin that tracks statistics, to avoid contaminating the main site's statistics.
Disable email sending with plugins such as FluentSMTP
Google or Facebook for WooCommerce, or any plugin that generates a feed, which will be unnecessary on the test site
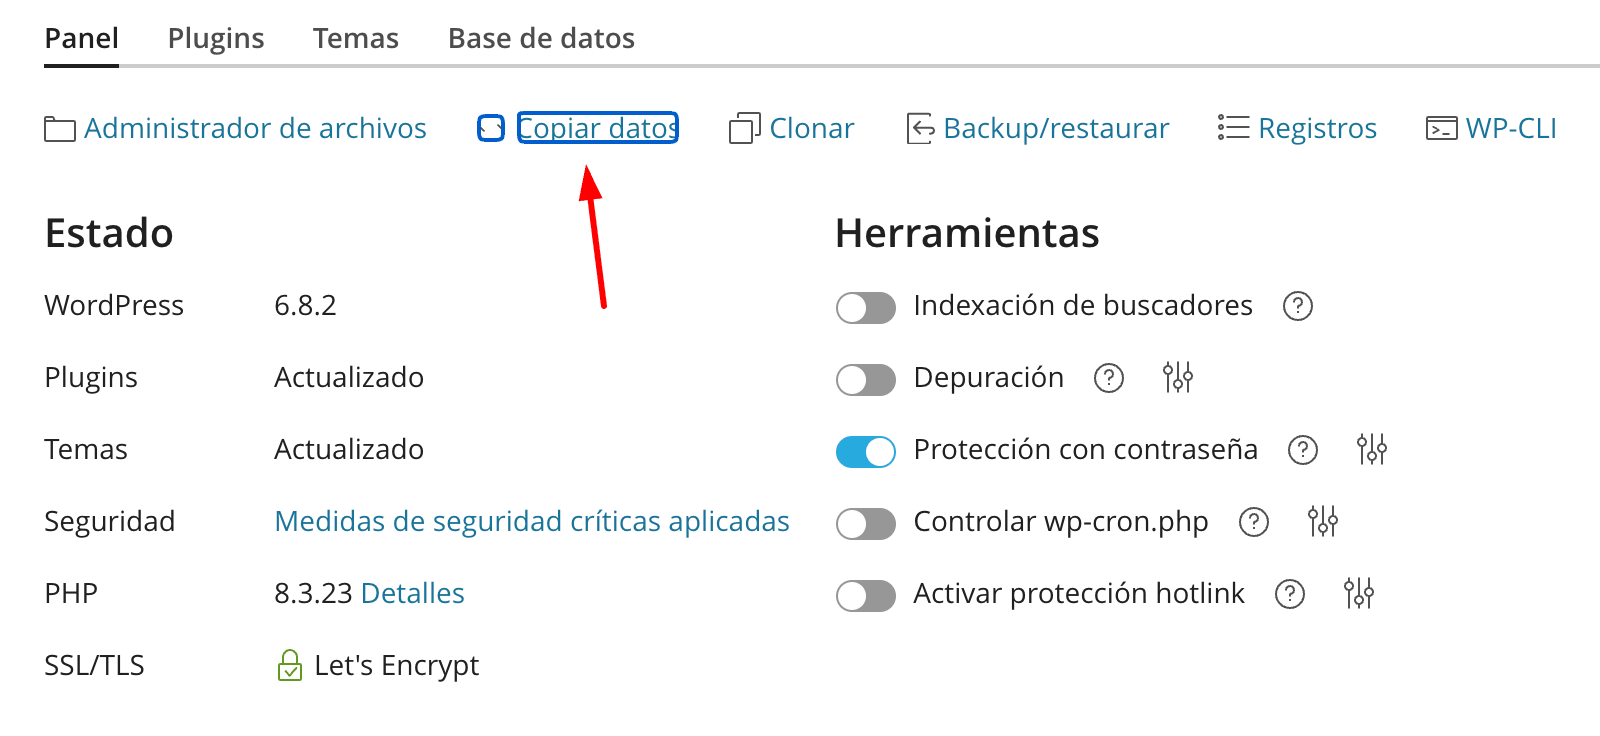
Copy settings to the main site
If we want to transfer the changes we made on the staging site to the main site, we can use the "Copy data" tool within WordPress Management: