

Manage resources and limits with CloudLinux Manager in WHM
Updated 6 days ago
If you have a Reseller plan or a Cloud VPS with CloudLinux, you can see how much each of your accounts uses and assign limits from the CloudLinux Manager option, available in your WHM panel. This prevents a single site from consuming all the plan's CPU or memory: your plan's resources are the total amount available to distribute among all your accounts.
What happens when an account reaches its limit
The effect depends on the resource that has been exhausted:
CPU (SPEED) and disk (IO): the site responds more slowly.
Memory (PMEM) and processes (NPROC): the account may display a 500 or 503 error.
EP (simultaneous connections): the account may display a 508 error.
If your entire plan runs out of resources, all your sites display a 503 error until resources become available again.
A 503 does not always mean that a limit has been reached: it can also be caused by the server or application configuration. To identify the cause, check the account's usage and failures under Resource Usage in its cPanel. The resource usage and 503–508 errors guide explains how to interpret this data.
Where to find CloudLinux Manager
Log in to the WHM panel and open the CloudLinux Manager option. If you manage a Cloud VPS, access WHM as root. For an overview of the panel, see the main WHM panel options.
The CloudLinux Manager tabs
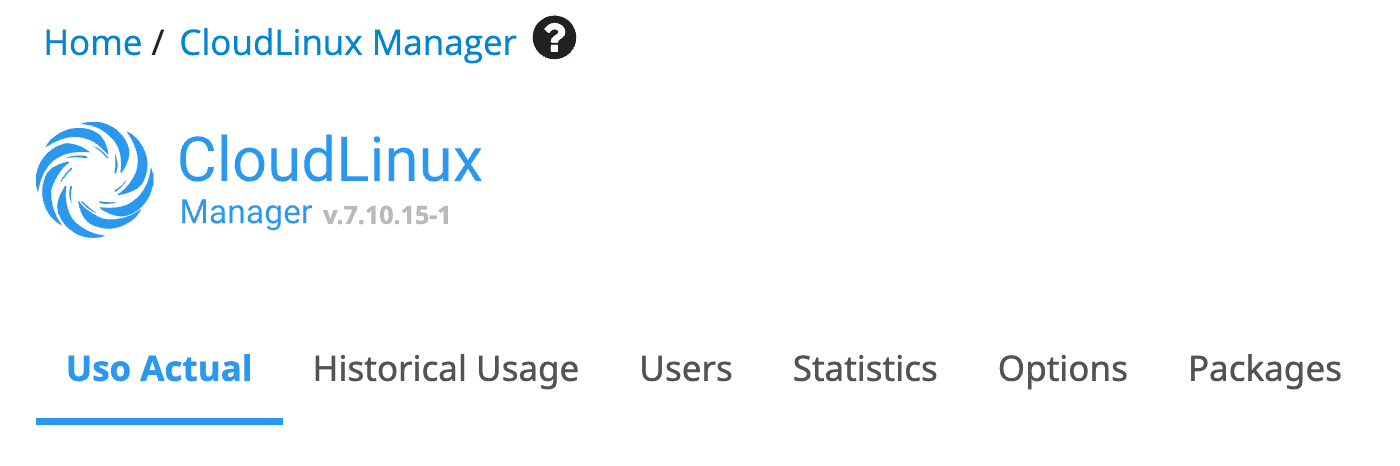
When you log in, you will find these tabs:
Tab | What you will find |
|---|---|
Current Usage | The current usage of each resource, by account. |
Historical Usage | Your plan's usage and failure history, with filters by period and the top five accounts with the highest usage. |
Users | The limits assigned to each account. You can edit them from this tab. |
Statistics | The historical usage of each of your accounts, with filters by limit type to identify usage peaks. |
Options | The alert settings for when an account reaches a limit: recipients, resources to monitor, minimum number of failures, and frequency. |
Packages | The resource limits for each of your predefined packages, if you use them. |
If you manage a Cloud VPS with root access, you will also see the Dashboard and PHP Selector tabs.
How do you manage your accounts' limits?
Log in to the WHM panel and open CloudLinux Manager.
Go to the Users tab, where you will see the list of your accounts and each account's limits.
Select the account you want to adjust and edit the limits you need to change.
Save your changes.
Do not assign all your plan's resources to a single account: leave room for the rest of your accounts to continue operating.
The limits you can assign
From the Users tab, these are the resources you can limit:
Limit | What it measures | When it is reached |
|---|---|---|
SPEED | CPU, as a percentage of one core: 100% equals 1 core, and 200% equals 2 cores. | The site responds more slowly. |
PMEM | Physical RAM. | The account may display a 500 or 503 error. |
IO | Disk read and write speed. | The site responds more slowly. |
IOPS | Read and write operations per second. | The site responds more slowly. |
EP | Entry Processes: simultaneous connections to the account, such as dynamic web scripts, cronjobs, and SSH sessions. | The account may display a 508 error. |
NPROC | Total number of processes and threads. | The account cannot create new processes and may display a 500 or 503 error. |
We do not limit IO or IOPS on any of our plans, but if necessary, you can assign a disk limit to a specific account.
The most common limits are SPEED and PMEM: as your site's traffic and features increase, you will need more CPU and memory.
What limit alerts mean
When an account reaches a limit, a failure is recorded indicating which resource was exhausted, how many times, and at what time. You can configure alerts for yourself and your customers from the Options tab.
To distinguish an isolated spike from sustained usage, compare the current usage in Current Usage with the account's history in Statistics.
If you work with Node.js applications and see errors such as cagefs_enter: Unable to fork, or you cannot open Terminal in the account, see the guide to the Node.js error caused by exhausted processes.
How to use fewer resources
To help your accounts perform better within their limits, log in to each one and:
Delete any applications or files you do not use.
Update your applications, whether WordPress or Joomla, to the latest version, and make sure all plugins and themes are fully up to date.
Use PHP 8.3 and avoid older PHP versions whenever possible.