

Upload and Manage Files in Your Account
Updated 3 months ago
There are two ways to upload, download, and edit the files in your hosting account.
The first (and most traditional) is through your control panel, using the File Manager option.
The File Manager in cPanel
First, access your control panel by going to the address shown below (replacing misitio.com with your actual domain name):

Once you’re logged in, look for the File Manager tool.
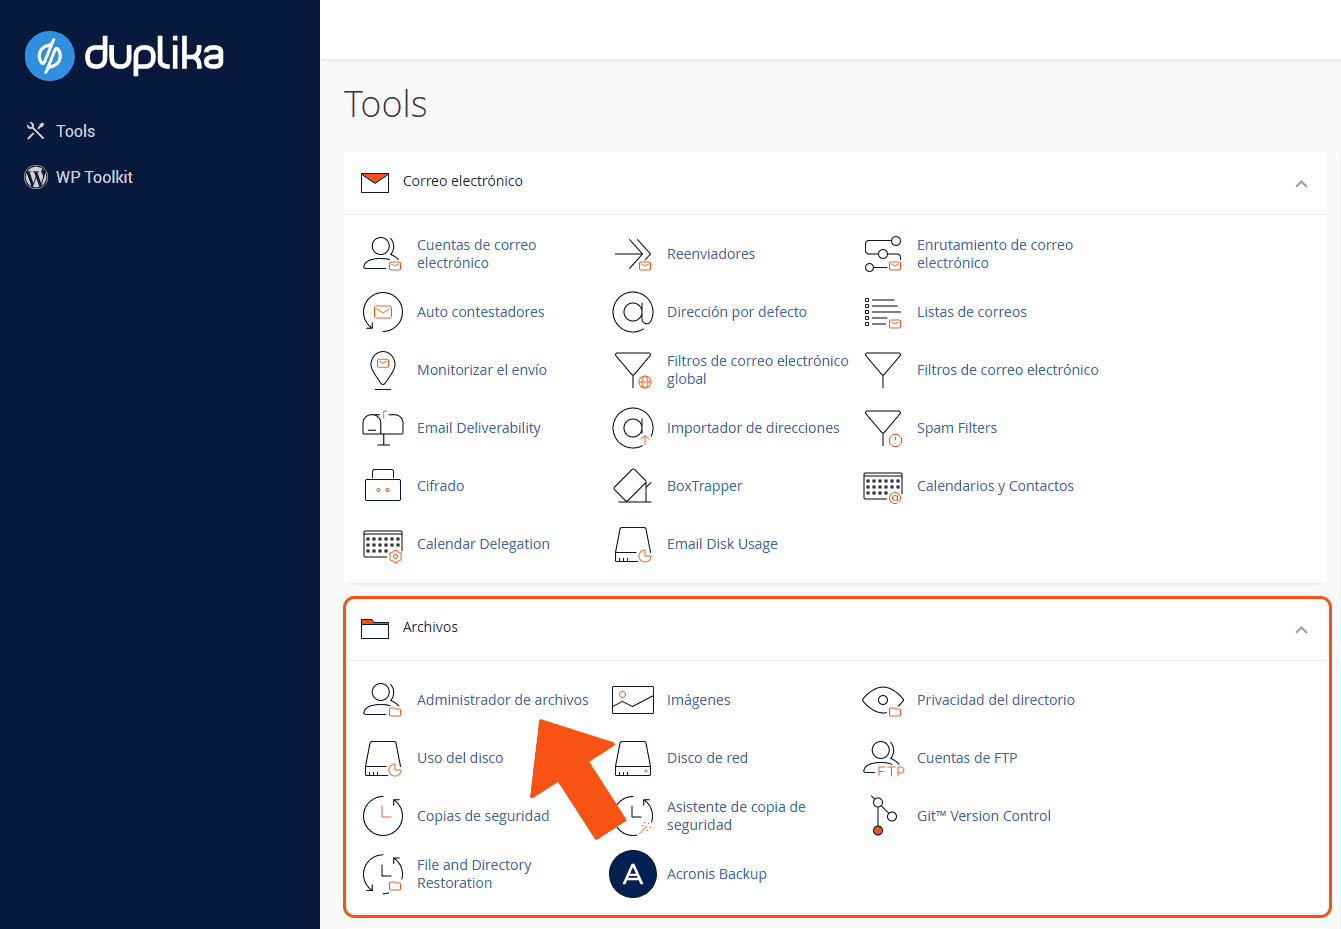
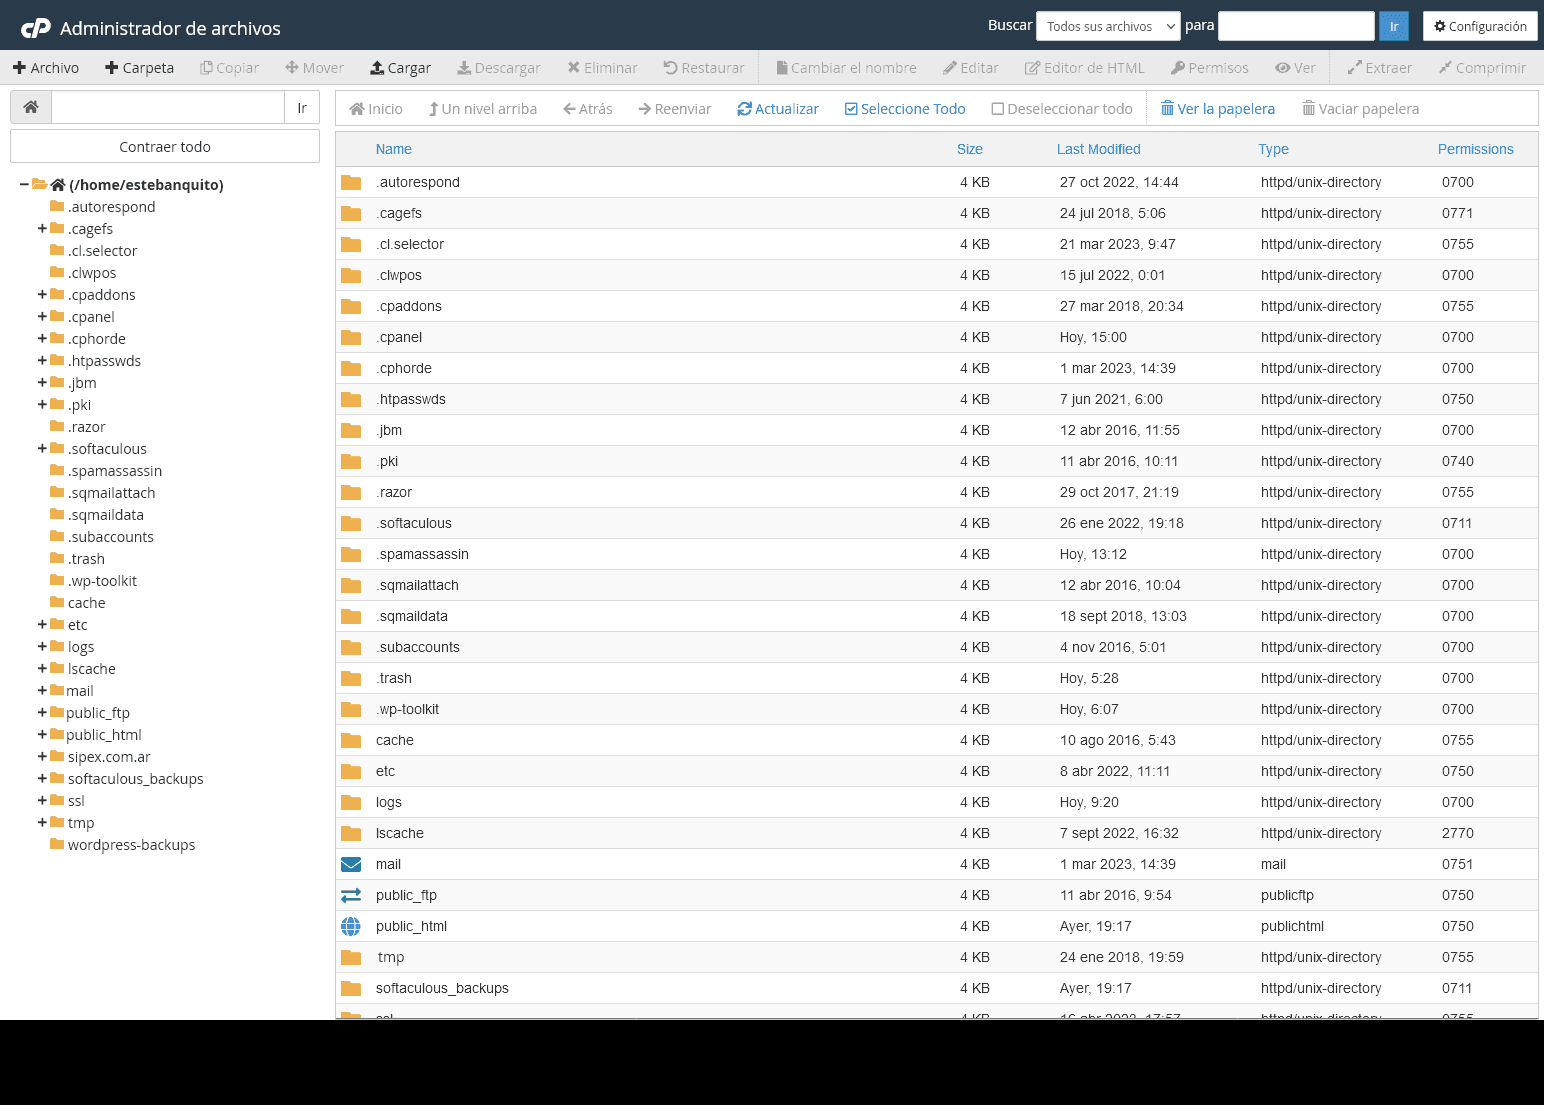
After clicking the tool shown, you’ll see a screen that looks almost identical to the screenshot below:
File management works much like Windows File Explorer. To perform an action, select the file or files you want to copy, delete, or rename. The relevant tools will become available in the top toolbar, as shown here:
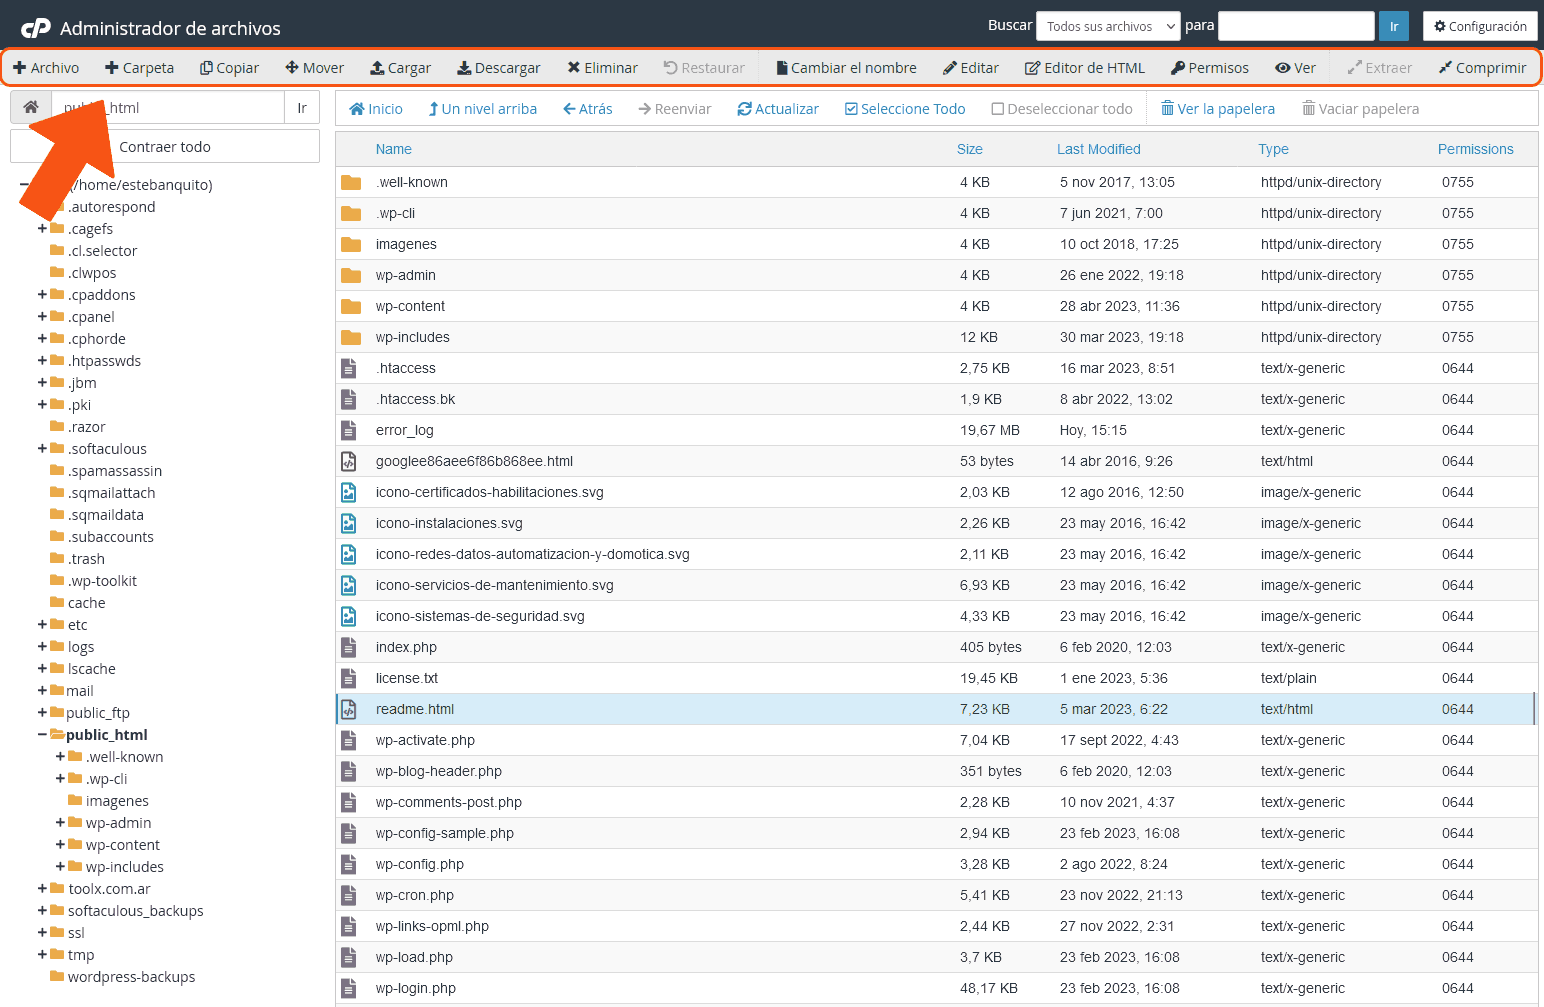
As shown in this screenshot, you can also download files or upload new ones. There’s also an option to edit permissions.
Alternative: Use an FTP Client
The second option is to use FTP, or File Transfer Protocol. Instead of using an online tool such as cPanel and its File Manager, you’ll need to download a free program called FileZilla.
After downloading the program, install and run it, then configure access to your site using the login details we sent you in the welcome email when you signed up for your plan.
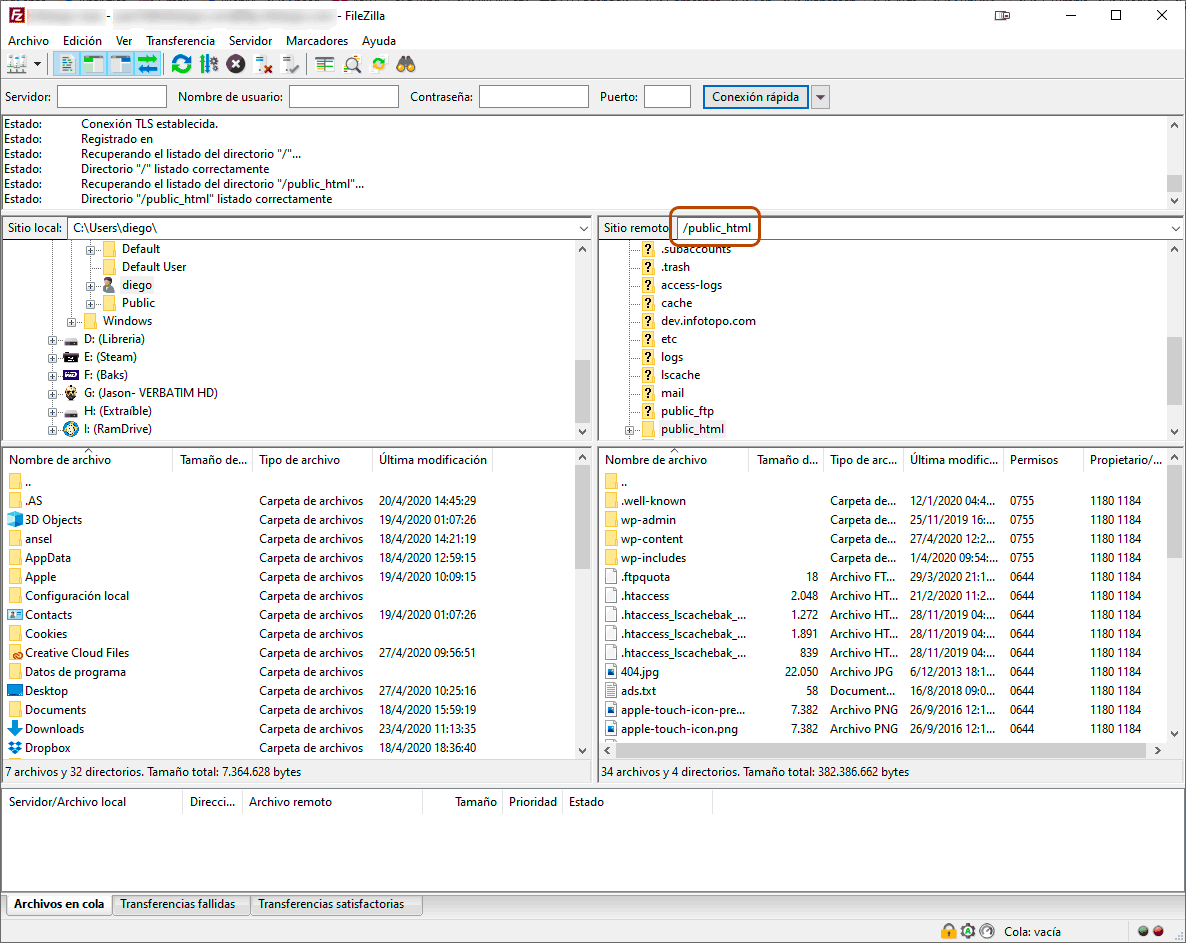
A site’s files are usually stored in the public_html folder. In the screenshot above, you can see two columns: the first, on the left, is the local file browser (that is, your computer); on the right, you can view and perform any action on remote files (that is, files on the server).
Dragging and dropping files into the window on the right uploads them to the server instantly, so be sure to open the appropriate folder before doing this (for example, public_html/wp-content/plugins).
FileZilla is very easy to use; however, depending on what you need to do on the server, you may not need to download this FTP client for occasional tasks.