

How to Create a Website Step by Step with WordPress
Updated last month
To create a website, you need three basic things: a domain, a hosting service, and a platform for building your site. In this guide, we'll use WordPress because it lets you create and manage pages without needing to code.
In short, the steps are: register a domain, purchase hosting, install WordPress, choose a design, create the main pages, and publish the site.
Below, we'll explain step by step how to create your WordPress website from scratch: get a domain, purchase hosting, install WordPress, and publish your first content. This guide takes you from zero to a live website and links to detailed guides for each step so you don't have to repeat any procedures.
What you'll need
A WordPress website relies on three components that work together:
Domain: your site's address, for example
misitio.com. It's what your visitors see.Hosting: the service where your site's files, images, and databases are stored. Without hosting, no one can access your website.
WordPress: the content management system (CMS) you use to create and manage pages, posts, menus, and plugins. It's free.
To learn more about each component, read What is a domain? and What is hosting and what is it for?.
Step 1: Choose and register your domain
Your domain is the name visitors type to access your site. Choose a name that matches your brand or project, and an extension that suits your audience: a generic extension such as .com, .net, or .org for international visitors, or a local one such as .com.ar if your business is in Argentina.
Check whether the domain you want is available and register it using Duplika's domain search.
Step 2: Purchase a hosting service
Hosting stores your site's files on a server connected to the Internet 24/7. All Duplika hosting plans are compatible with WordPress and include cPanel, an SSL certificate, and technical support.
To publish your site, you'll need to link your domain to your hosting server once. This process is called delegation: you tell your domain registrar which DNS servers your hosting provider uses.
If you bought your domain from Duplika, you'll receive delegation instructions by email. If you bought it elsewhere, you can ask us for help by writing to [email protected].
Step 3: Install WordPress
Once your hosting is active, install WordPress from your control panel. At Duplika, you can do this from cPanel → WordPress Toolkit → Install, where you'll enter your domain, directory, and login details.
Follow the exact steps in the guide How to Install WordPress Easily. If you'd rather have us do it, submit a support ticket and we'll install it wherever you need.
If you'd rather get started with a platform that's already set up for WordPress, check out our WordPress Hosting plans
Step 4: Connect your domain
For your site to be online, your domain must point to your hosting provider's DNS servers. This delegation process can take a few hours to propagate across the Internet.
If your domain is .com.ar and you bought it from NIC.ar, follow the guide How do I delegate my com.ar domain to my hosting provider?. The easiest way to check whether your site is online is to enter its address in your browser.
Once your site is online, make sure the security padlock appears in your browser's address bar. Sites with an SSL certificate use the https:// protocol; since 2021, browsers have marked sites without a certificate as "not secure."
Step 5: Log in to the WordPress admin area
The Dashboard is where you create and manage all your site's content. You can access it at tusitio.com/wp-admin using the username and password you created during installation.
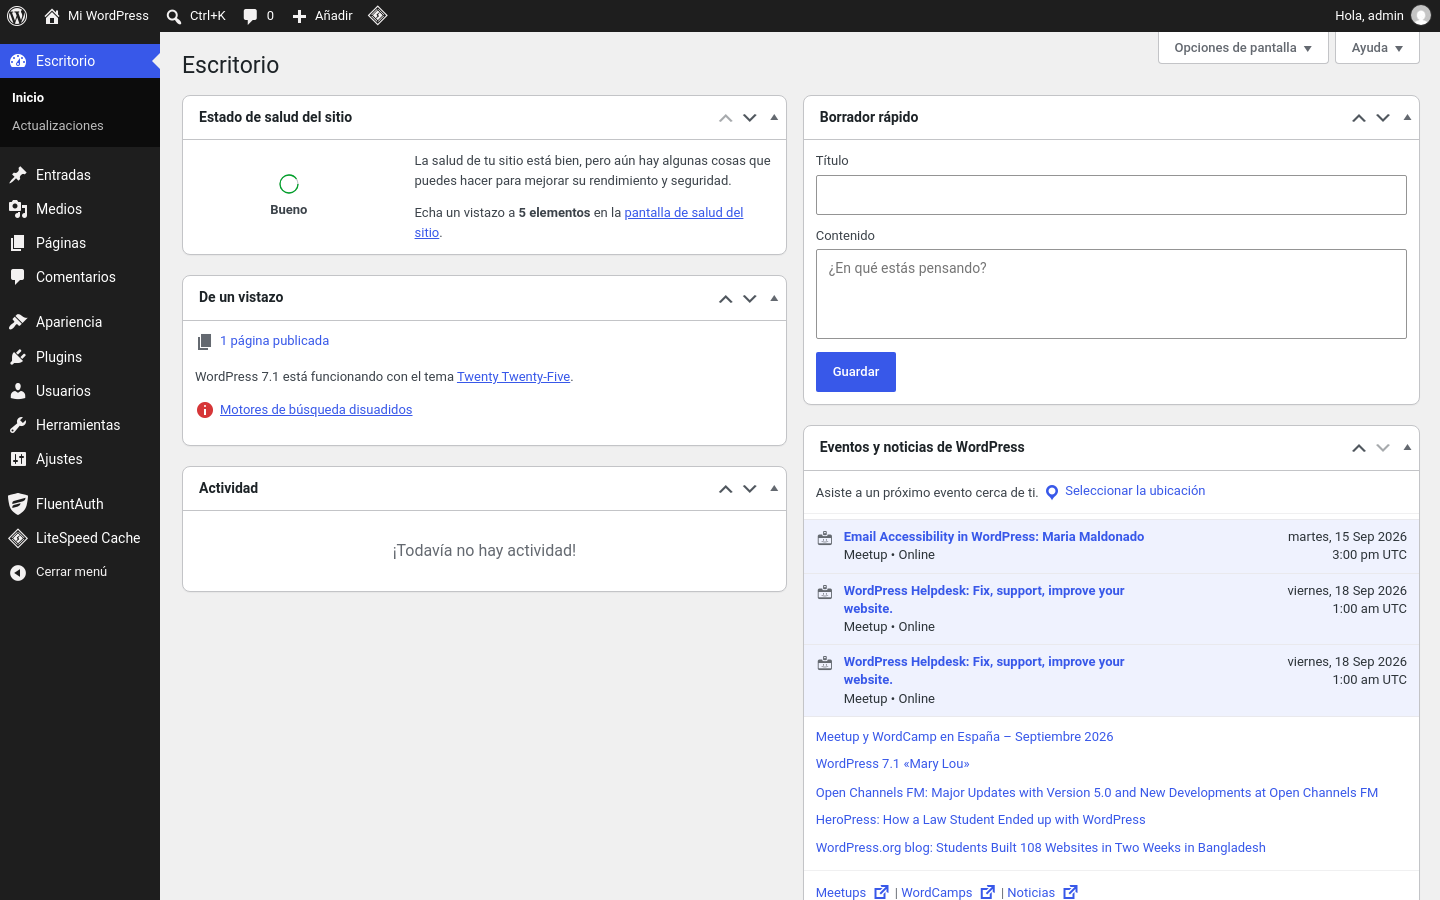
If you purchased hosting from Duplika, you received an email with your login details. If you have any questions, write to us at [email protected].
Step 6: Choose a theme
A theme is like your site's "clothing": it defines its appearance, color palette, and structure. WordPress can't run without a theme, so it installs one by default when you get started. It also serves as a backup if your main theme fails.
To choose one, go to your Dashboard and navigate to Appearance → Themes, click Add New, and browse the gallery. You can search by name or keyword, sort by Featured, Popular, or Recent, and preview each theme before choosing one.
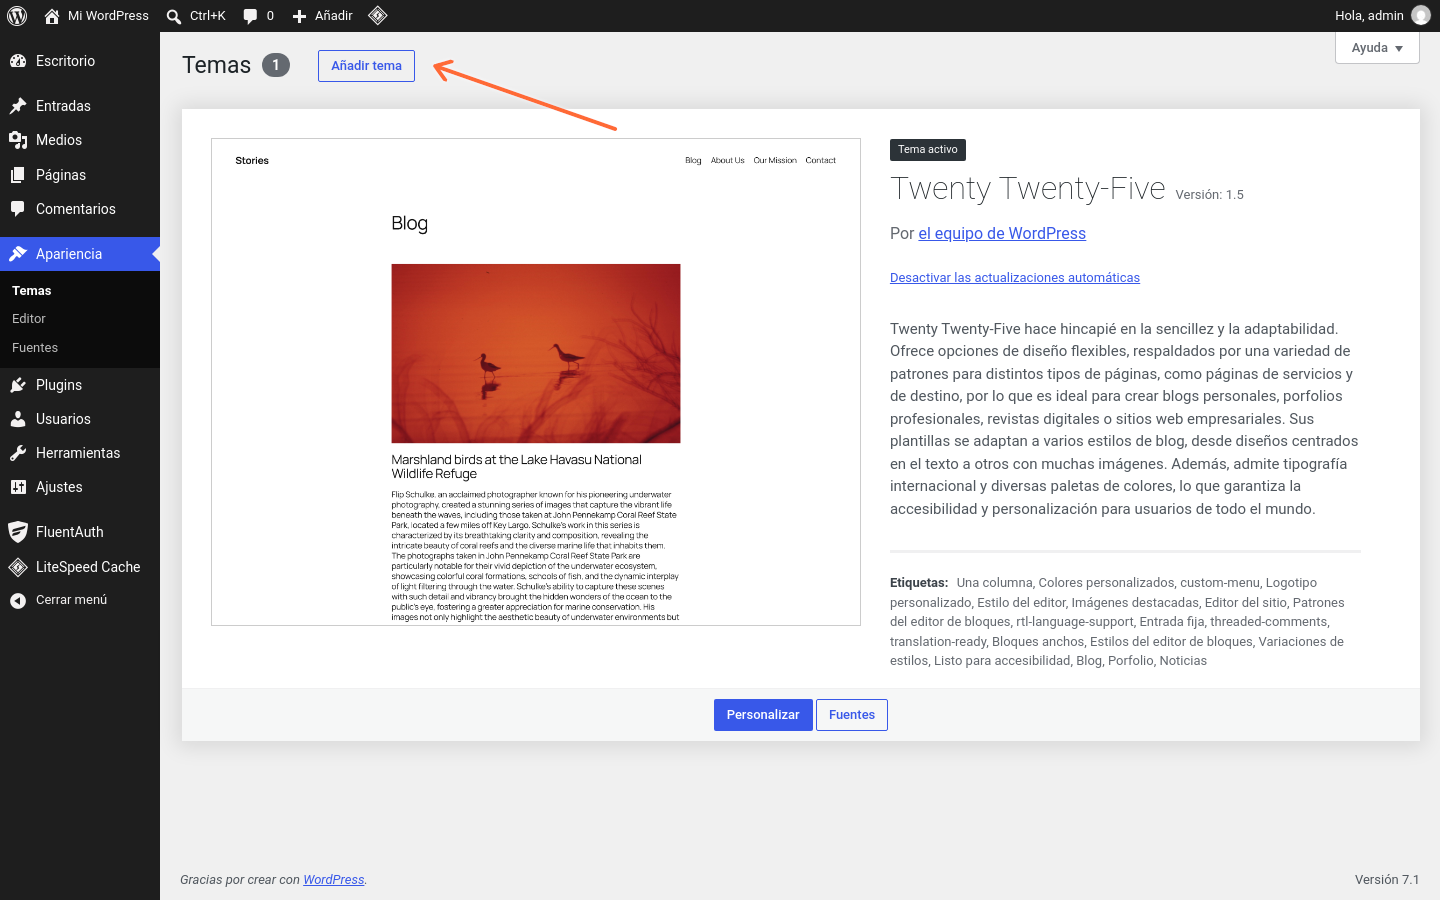
There are thousands of free themes on WordPress.org and many more paid ones. The theme you choose depends on your needs and how much time you want to spend on it; paid themes often come with more ready-to-use templates and design options.
If you downloaded a theme from WordPress.org or another site, you'll need to upload its files to your hosting server. One way to do this is with the free FileZilla program; follow the guide How to Upload Files to WordPress via FTP.
Step 7: Customize your site
Once your theme is installed, you can give your site its own identity from the customization menu.
Logo: go to Appearance → Customize → Site Identity and use Select Logo to upload your brand logo from your computer or the Media Library. You can crop the image or expand the selection to include the entire logo.
Colors: in the Colors option in the customization menu, you can change your site's colors, such as the header text color, page backgrounds, and accent color.
Fonts and headings: depending on the theme, you can change the font family, size, and color of headings. Paid themes usually offer complete design flexibility.
Remember to click Publish to save the changes you make while customizing your site.
Step 8: Create your content
WordPress has two types of content: Pages and Posts. Posts are blog articles with a publication date, Category, and Tags; Pages are more institutional content such as "About Us," "Contact," or the Home page.
Typical website pages include the Home page, About, Contact, Blog (or News), Services, and, if you sell online, Shop.
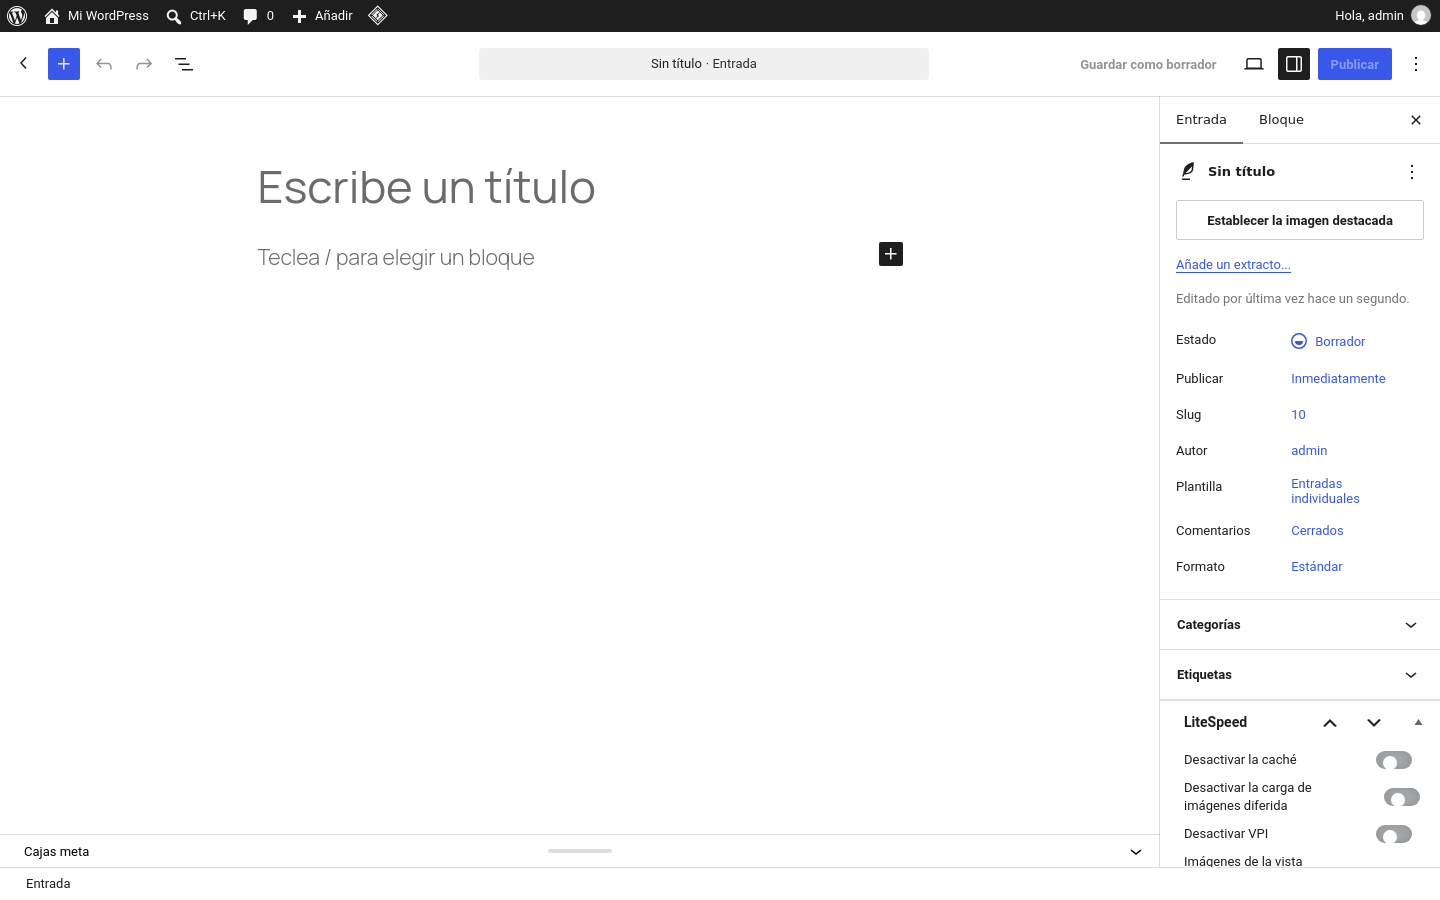
To create content without knowing how to code, WordPress includes the Gutenberg editor, a site builder that lets you put pages together by dragging and dropping blocks of text, images, buttons, and forms. Another popular option is the Elementor plugin, which you can download for free from the plugins section.
Step 9: Create a navigation menu
A navigation menu is a series of links that lets visitors move between sections of your site. Most sites have five or six links in their menus, and they can also include dropdown menus.
Go to Appearance → Menus, create a new menu with a name (only you will see it), check the Primary Menu option to display it next to your logo in the header, and add links to your Pages, Posts, or Categories. You can drag items to reorder them and move them to the right to make them subitems. Remember to click Save Menu.
Step 10: Add plugins
Plugins are small programs that add specific features to your site, such as forms, booking calendars, statistics, or spam protection. Most are free, and a typical site needs no more than three or four.
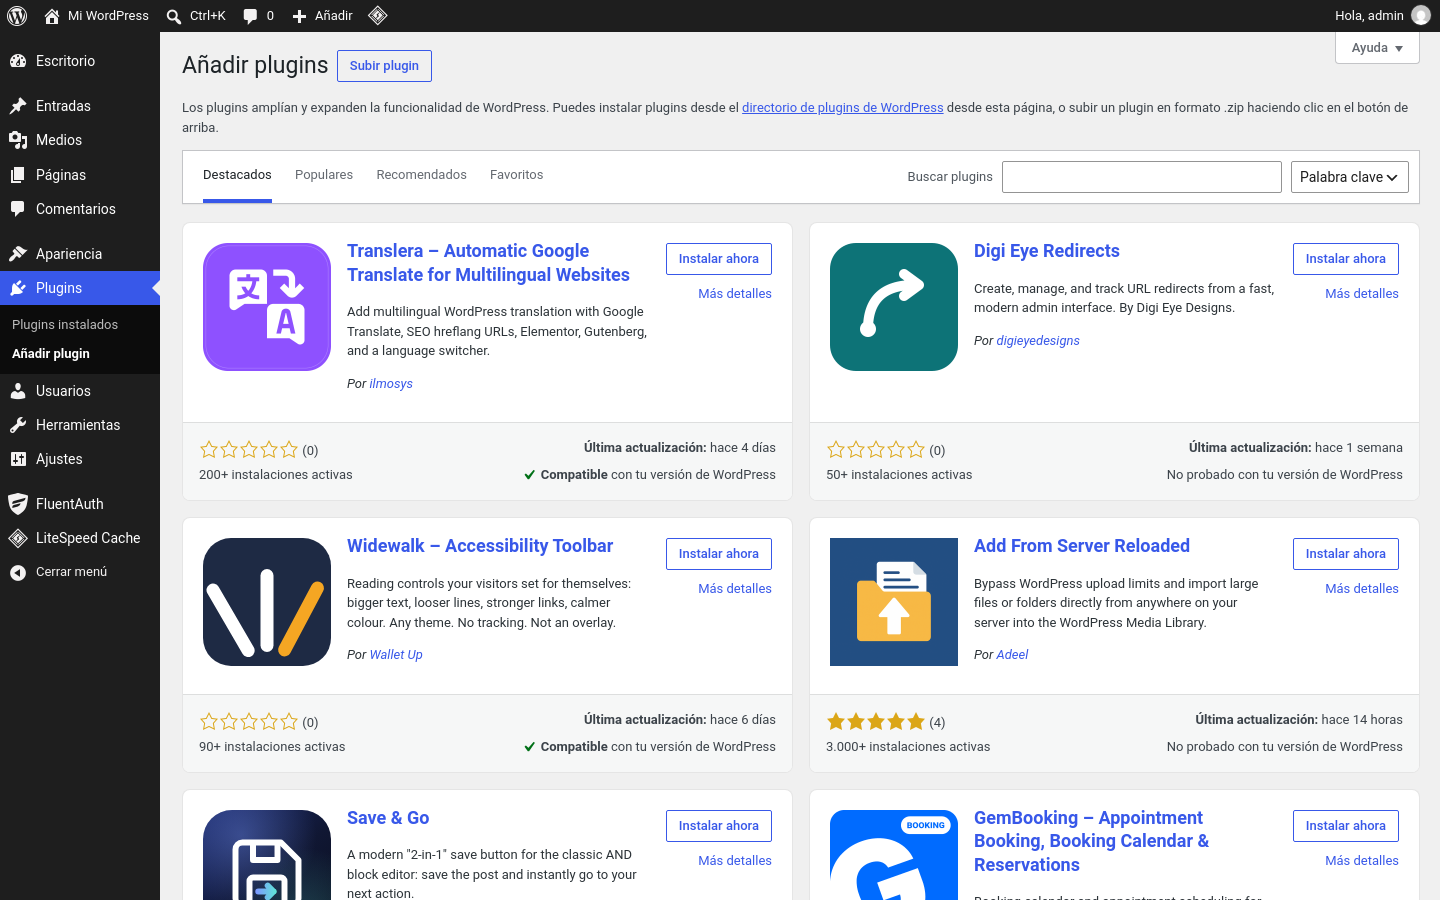
To install them, go to the Plugins section of your WordPress site, use the search box to find the one you need, click Install Now, and then click Activate. Yoast SEO is the most recommended plugin for improving search rankings.
Create an online store (optional)
If your goal is to sell online, WordPress's flagship plugin is WooCommerce: it's free and lets you publish products, accept payments, and manage taxes, transactions, and shipping. You can install it from the plugins section.
Once it's active, follow the guide Guide to Creating Products in WooCommerce to set up your store as quickly as possible.